my partner recently acquired an ereader. but it's slightly too big to fit in his pockets but too small to necessitate bringing a bag if going out somewhere, so i decided to make a small bag out of some canvas i had laying around from an old art project. the bag would be just big enough for his ereader and phone and a few tchotchkes just for a short outing.
the materials are very simple, the canvas is 8 oz unprimed cotton duck canvas from the art store, it costs like 8 CAD per square meter. the only other material is cotton thread which is just from a craft store because thats whats available to me right now.
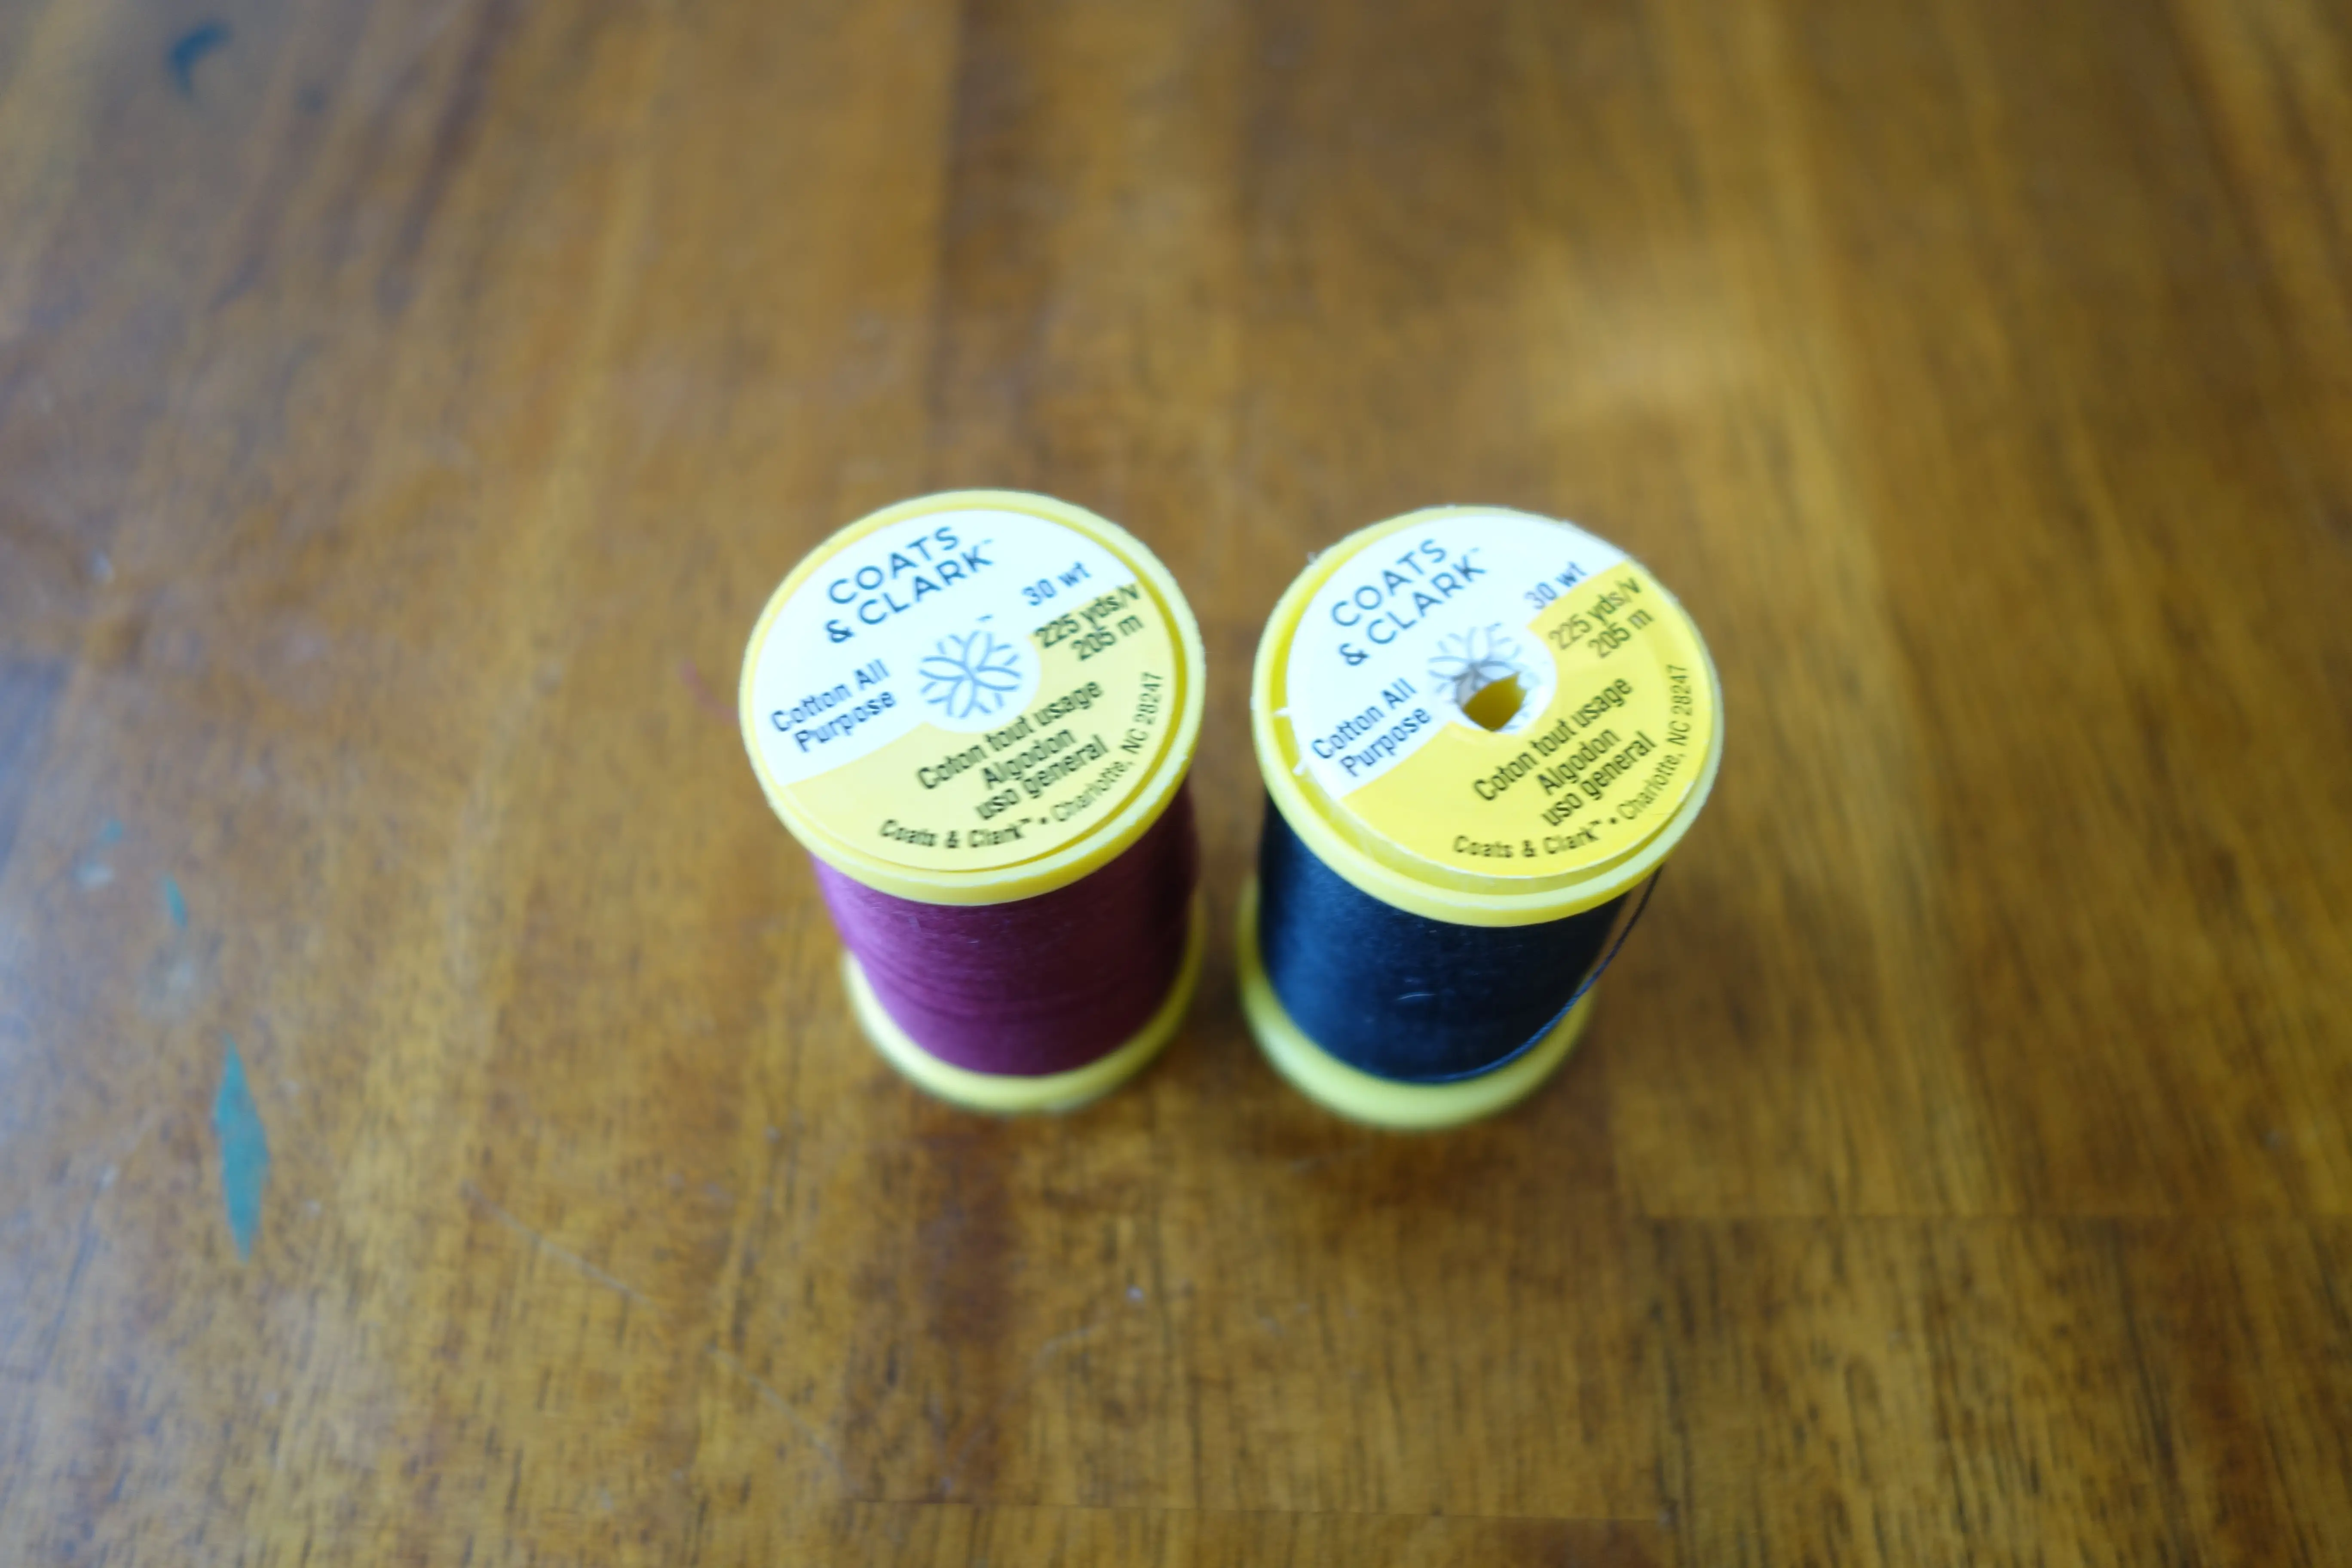
im not sure if this thread is really fully cotton or just cotton wrapped polyester. im hoping to get some higher quality stronger thread for future projects.
the last materials are the hardware for the bag strap, these i just stole from an old overall dress i thrifted years ago and dont wear anymore.
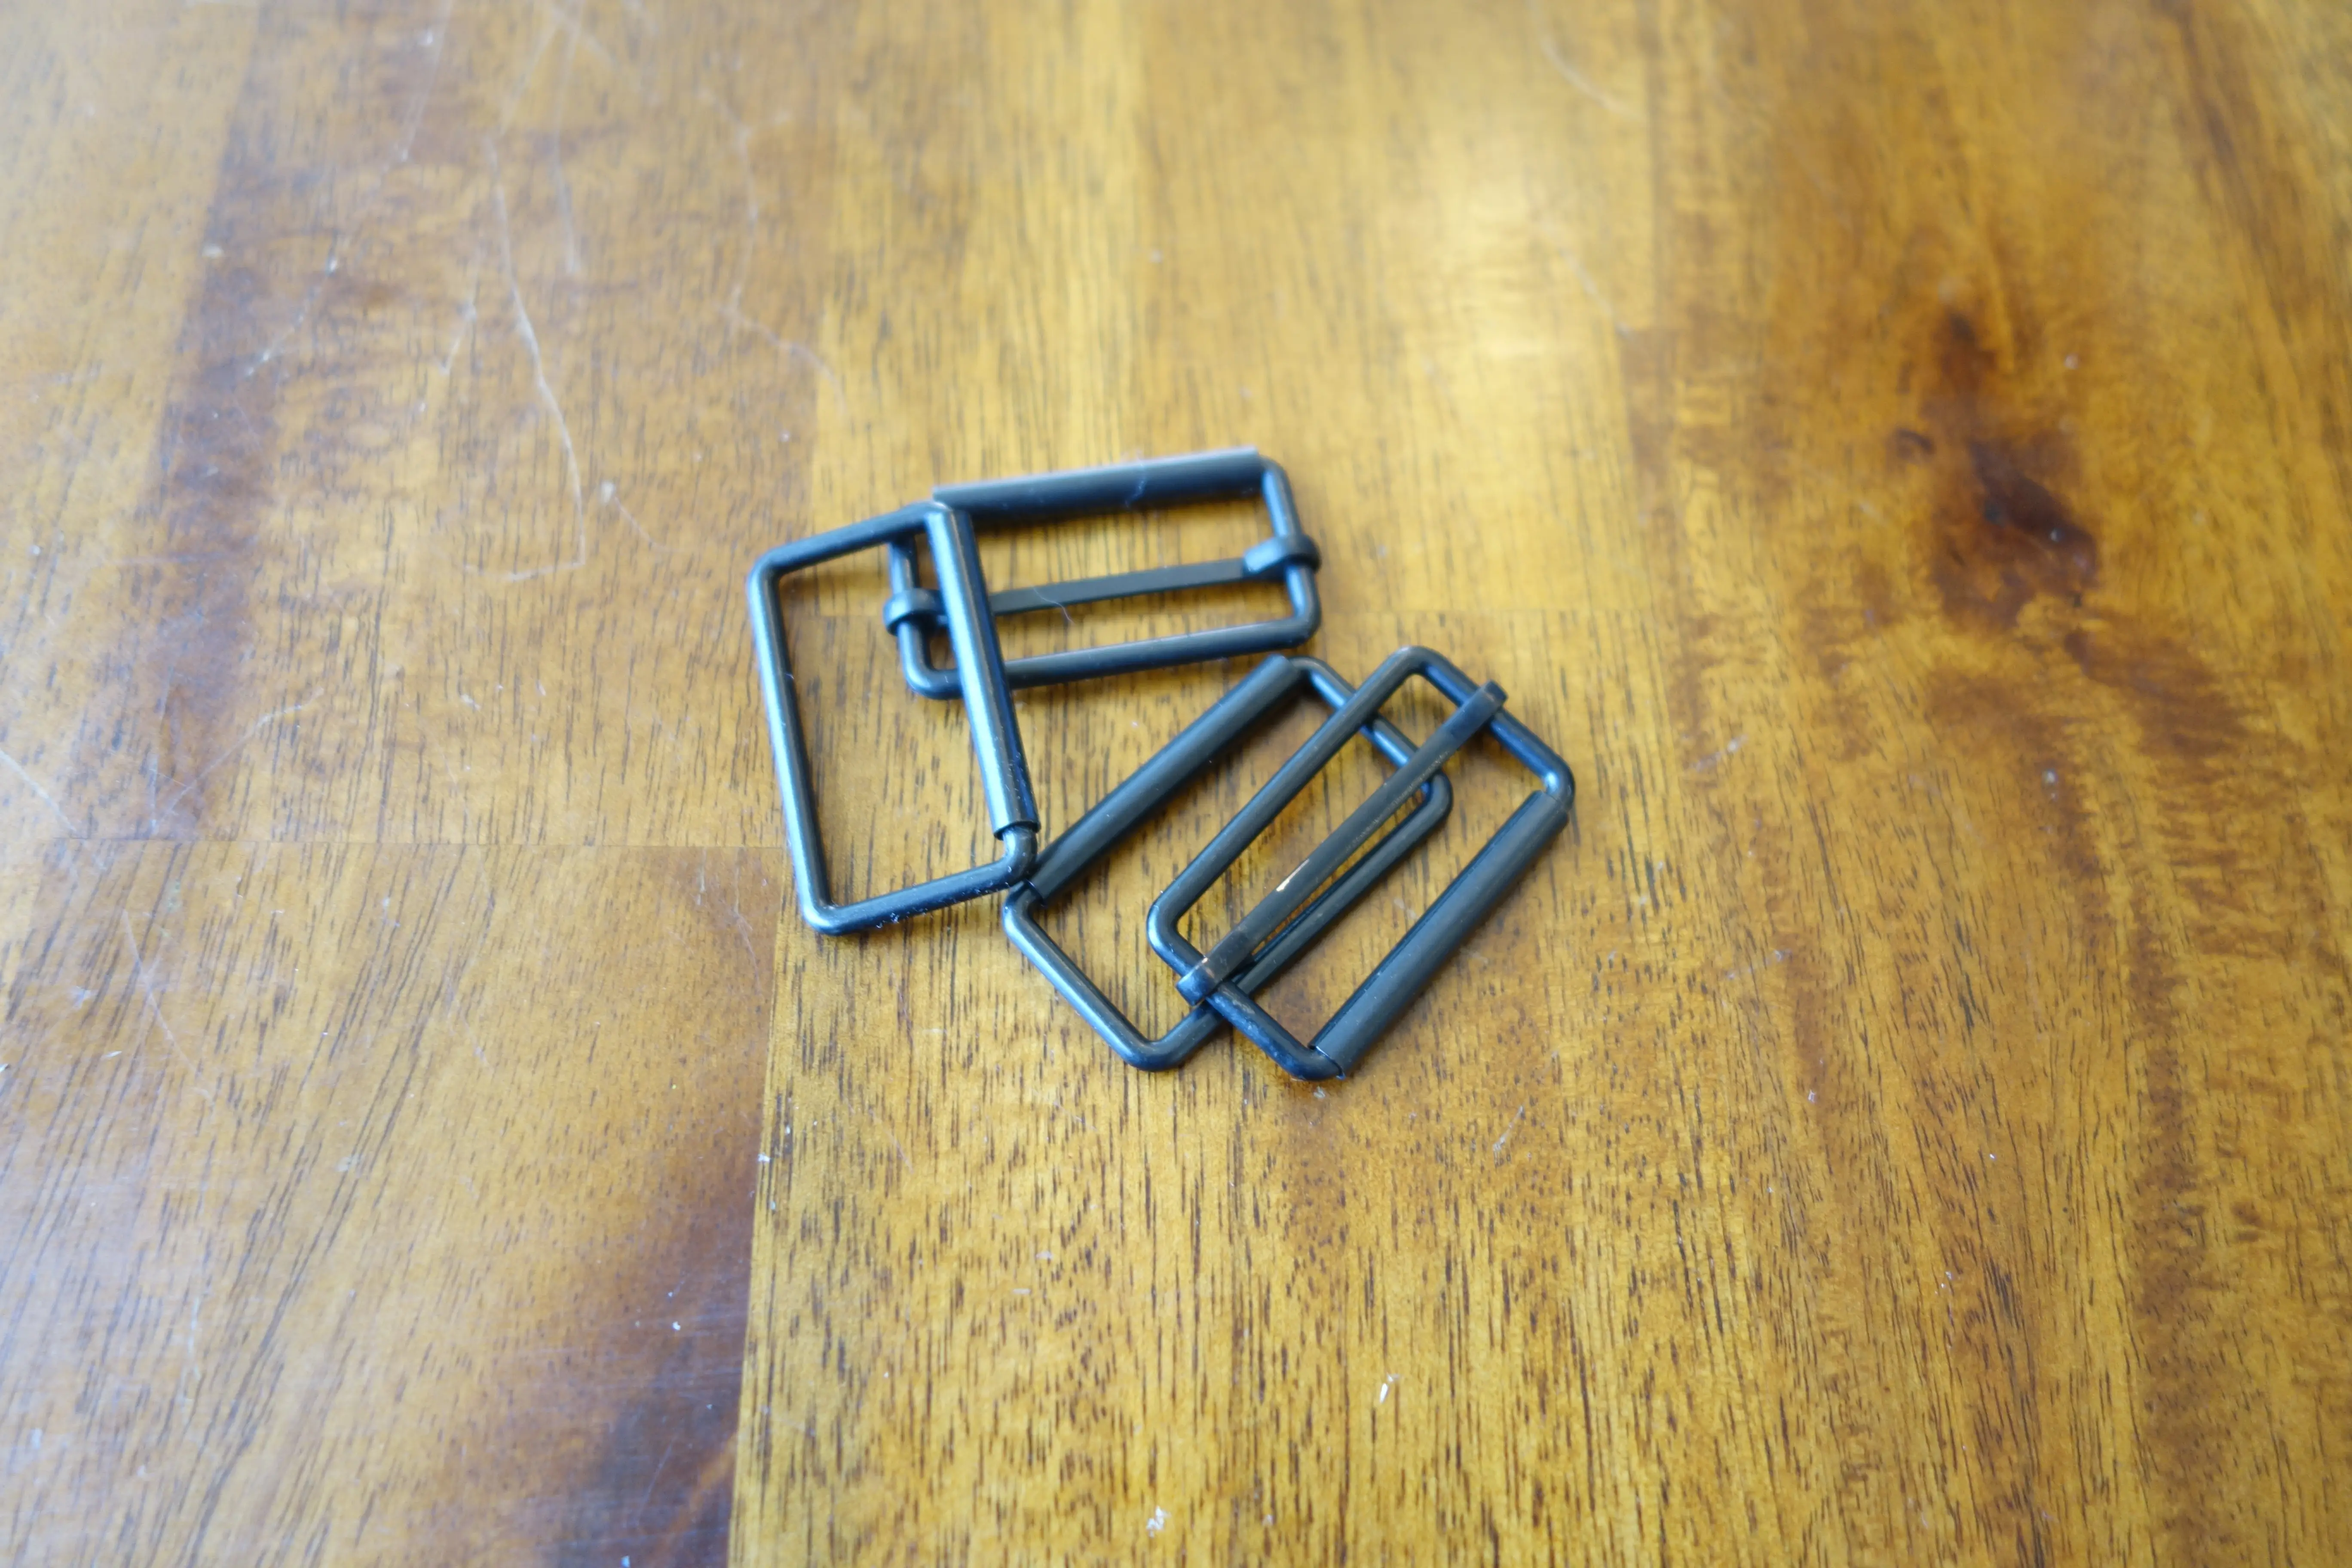
these will allow the bag strap to be adjustable which is always nice to have. the next thing is tools. there is only really one tool you need to sew, a needle. here are mine.
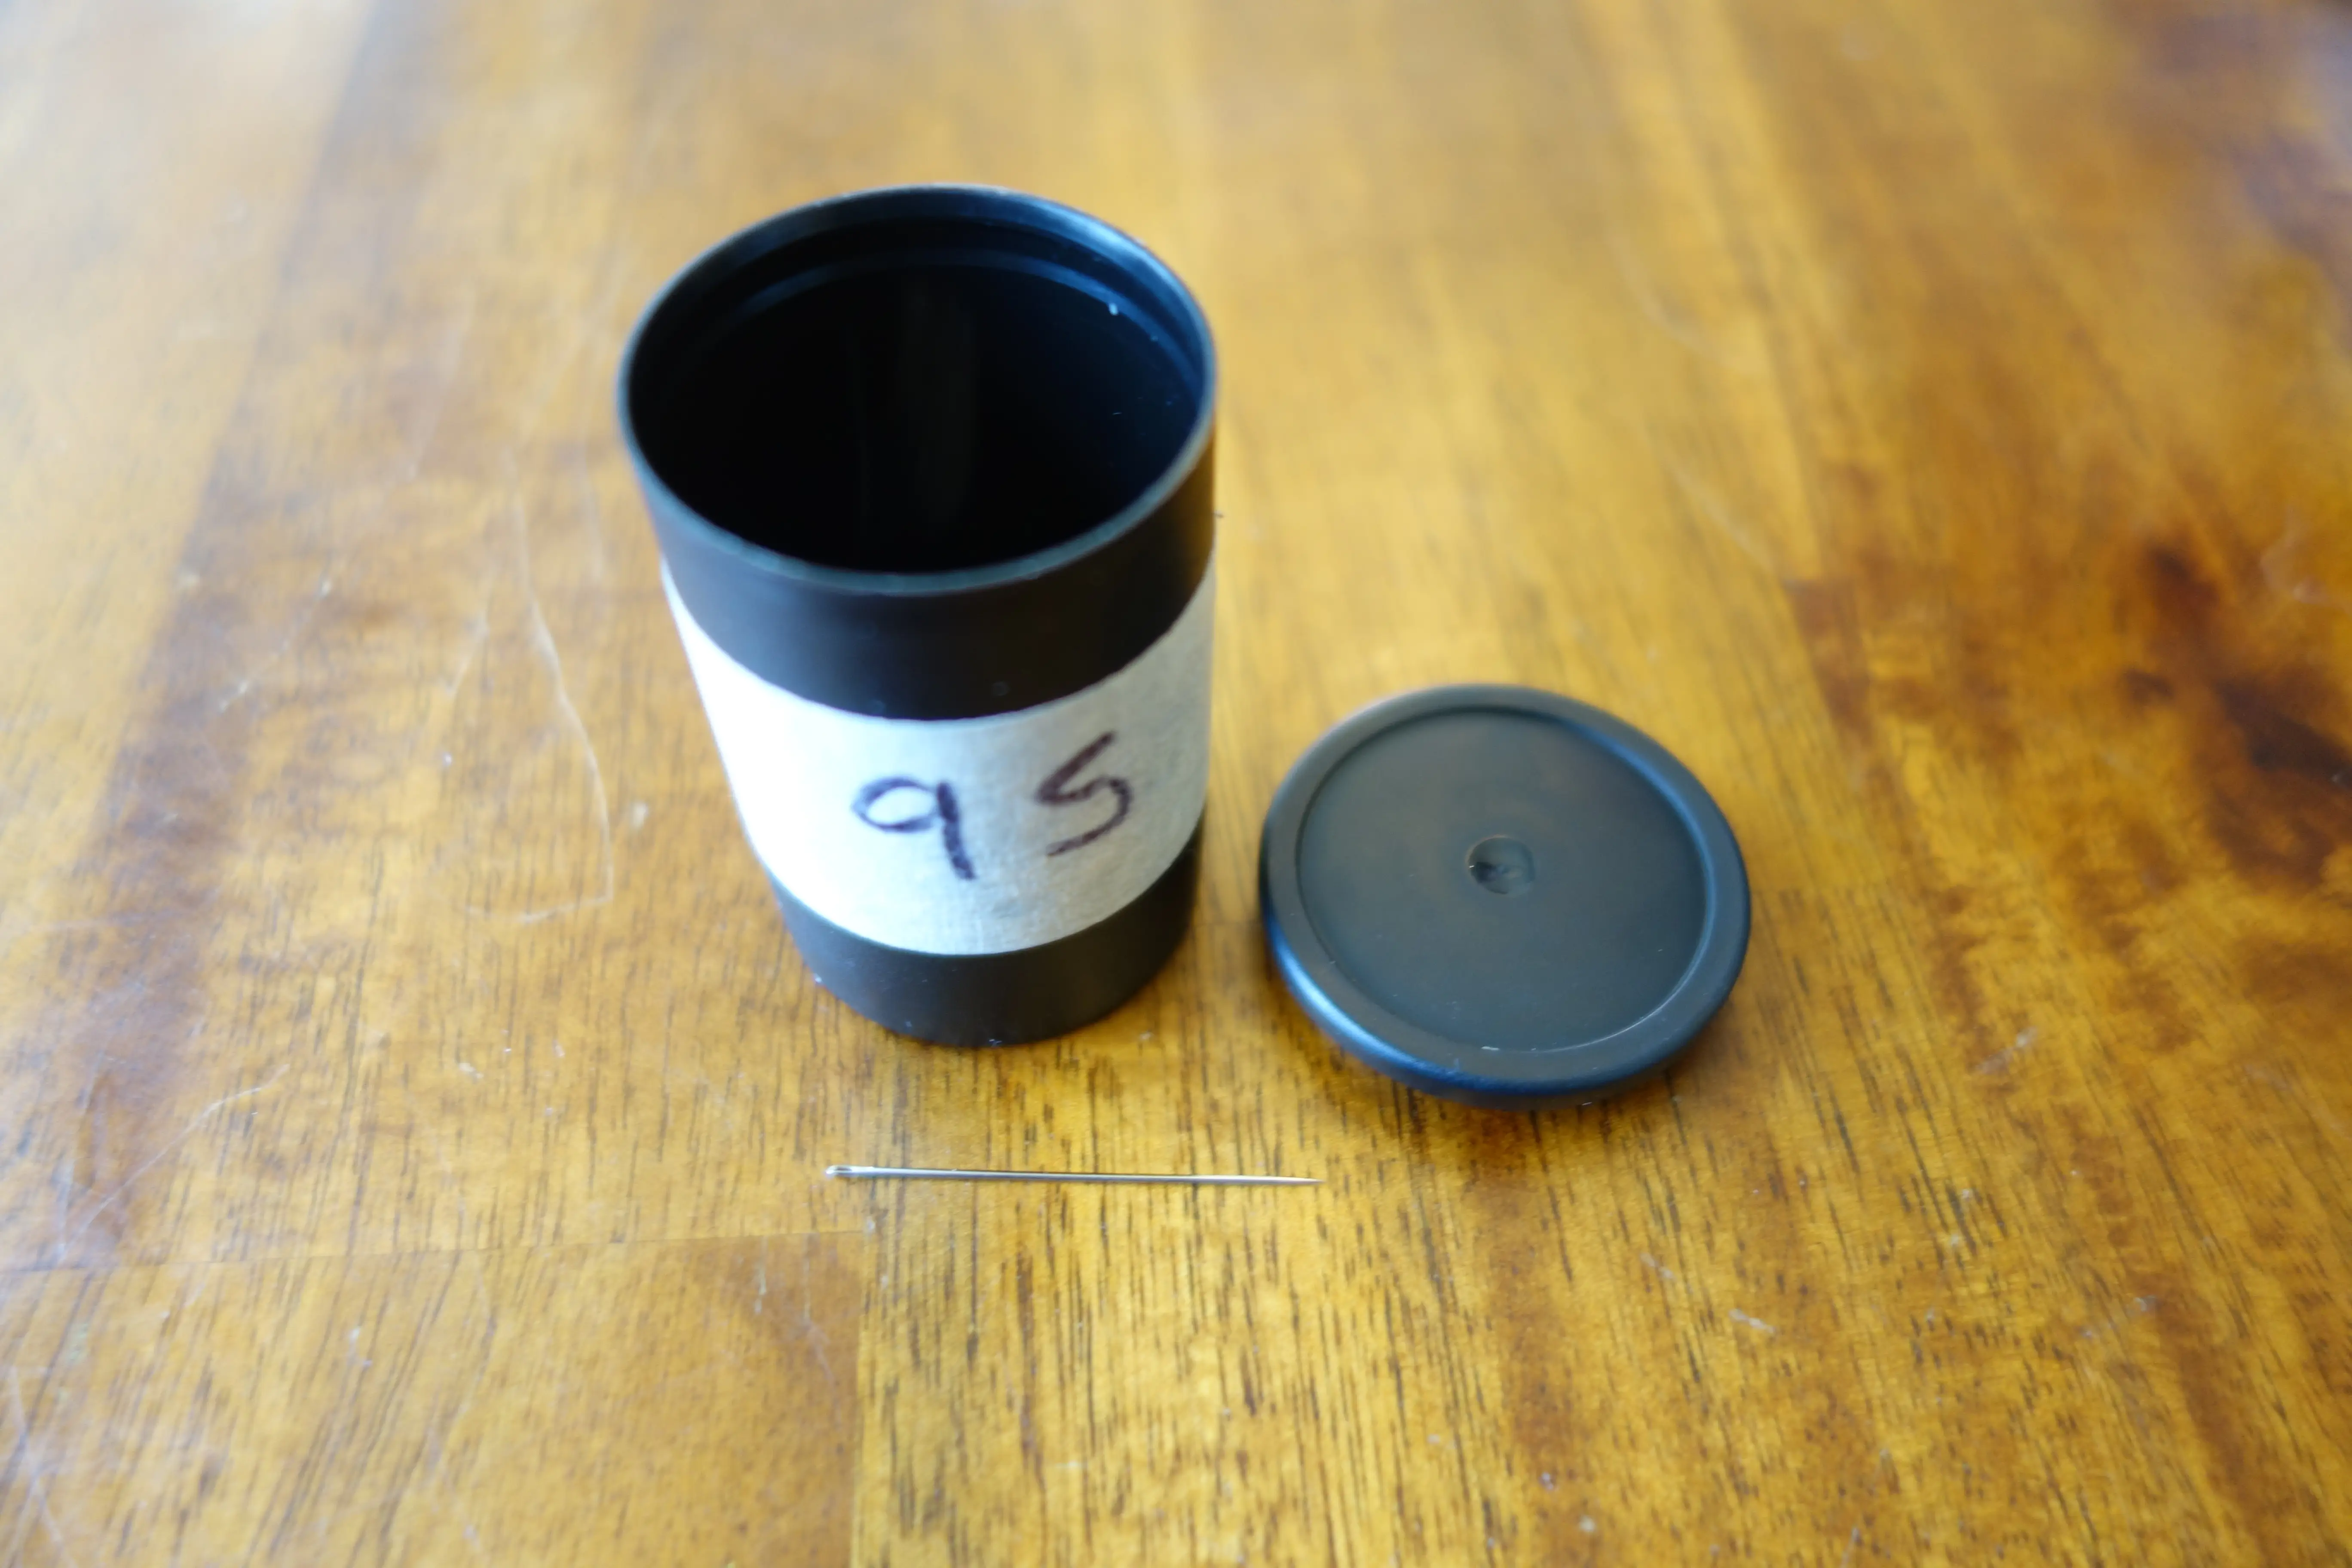
these are size 9 sharps as marked by the "9 S" on the contatiner. i use film canisters to hold my sewing needles but ive also used (empty) pill bottles, anything that will protect the needles from everything else and protect everything else from the needles. the needles are from John James if anyone is wondering, i got them recently and am liking them so far.
thats everything thats absolutely required so now lets talk about nice optional things, which i would not consider optional for a comfortable sewing experience, but you can do without.
first is a thimble. it sits on your middle finger of your dominant hand and helps push the needle through the fabric without poking your finger, there are many different types in different materials.

if you want to comfortable sew thick fabric without pliers then finding a thimble that is comfortable for you is important. i found this one in a small gifts store with some book binding stuff in the city i live in. it was only 1.50 and is probably really cheap but it works and thats all i need right now. i love this thimble becase i can still use my finger to sew and its just there when i need it.
another nicety is a pair of fabric shears, i also use mine sometimes to cut thread but don't tell anyone.
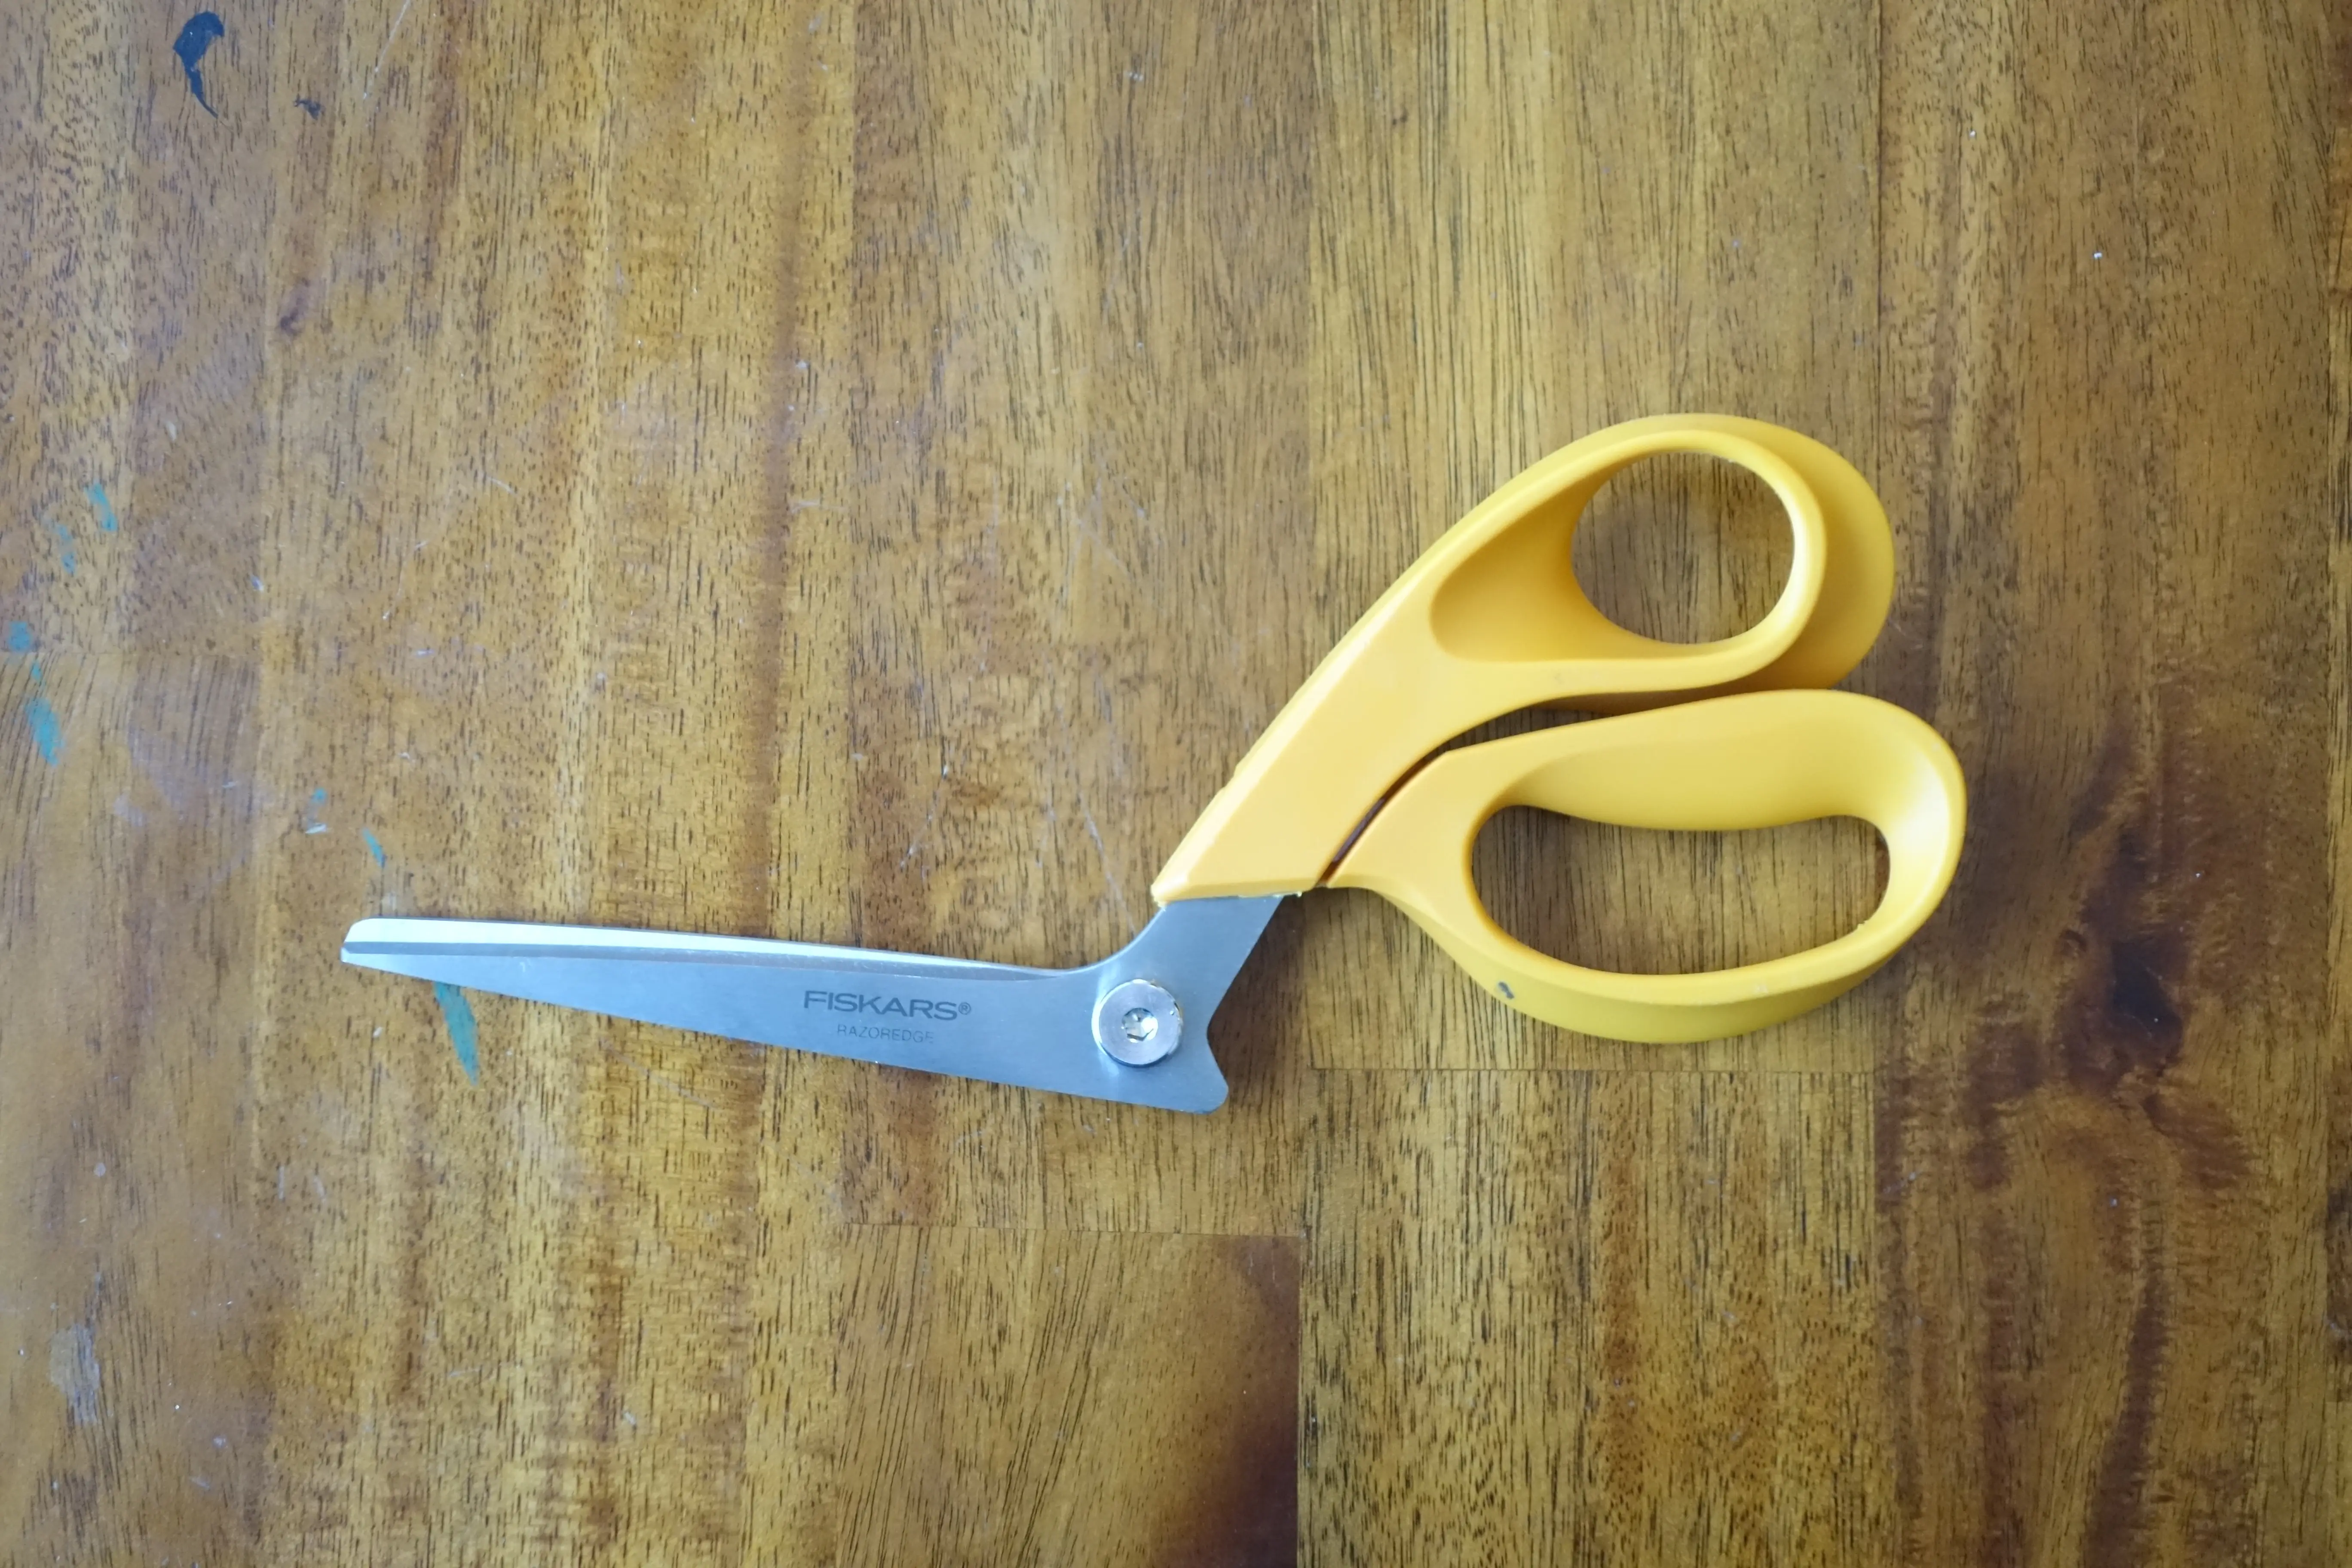
these are a bit pricier but if you get a good pair you can take apart and sharpen it will last a lifetime. they cut through fabric like butter and thread like even softer butter. take care of them and get them sharpened or sharpen them yourself regularly.
there are 2 other tools that are good to have, a seam ripper, which will make fixing mistakes easier, and a pencil and ruler, for marking a straight line on which to sew.
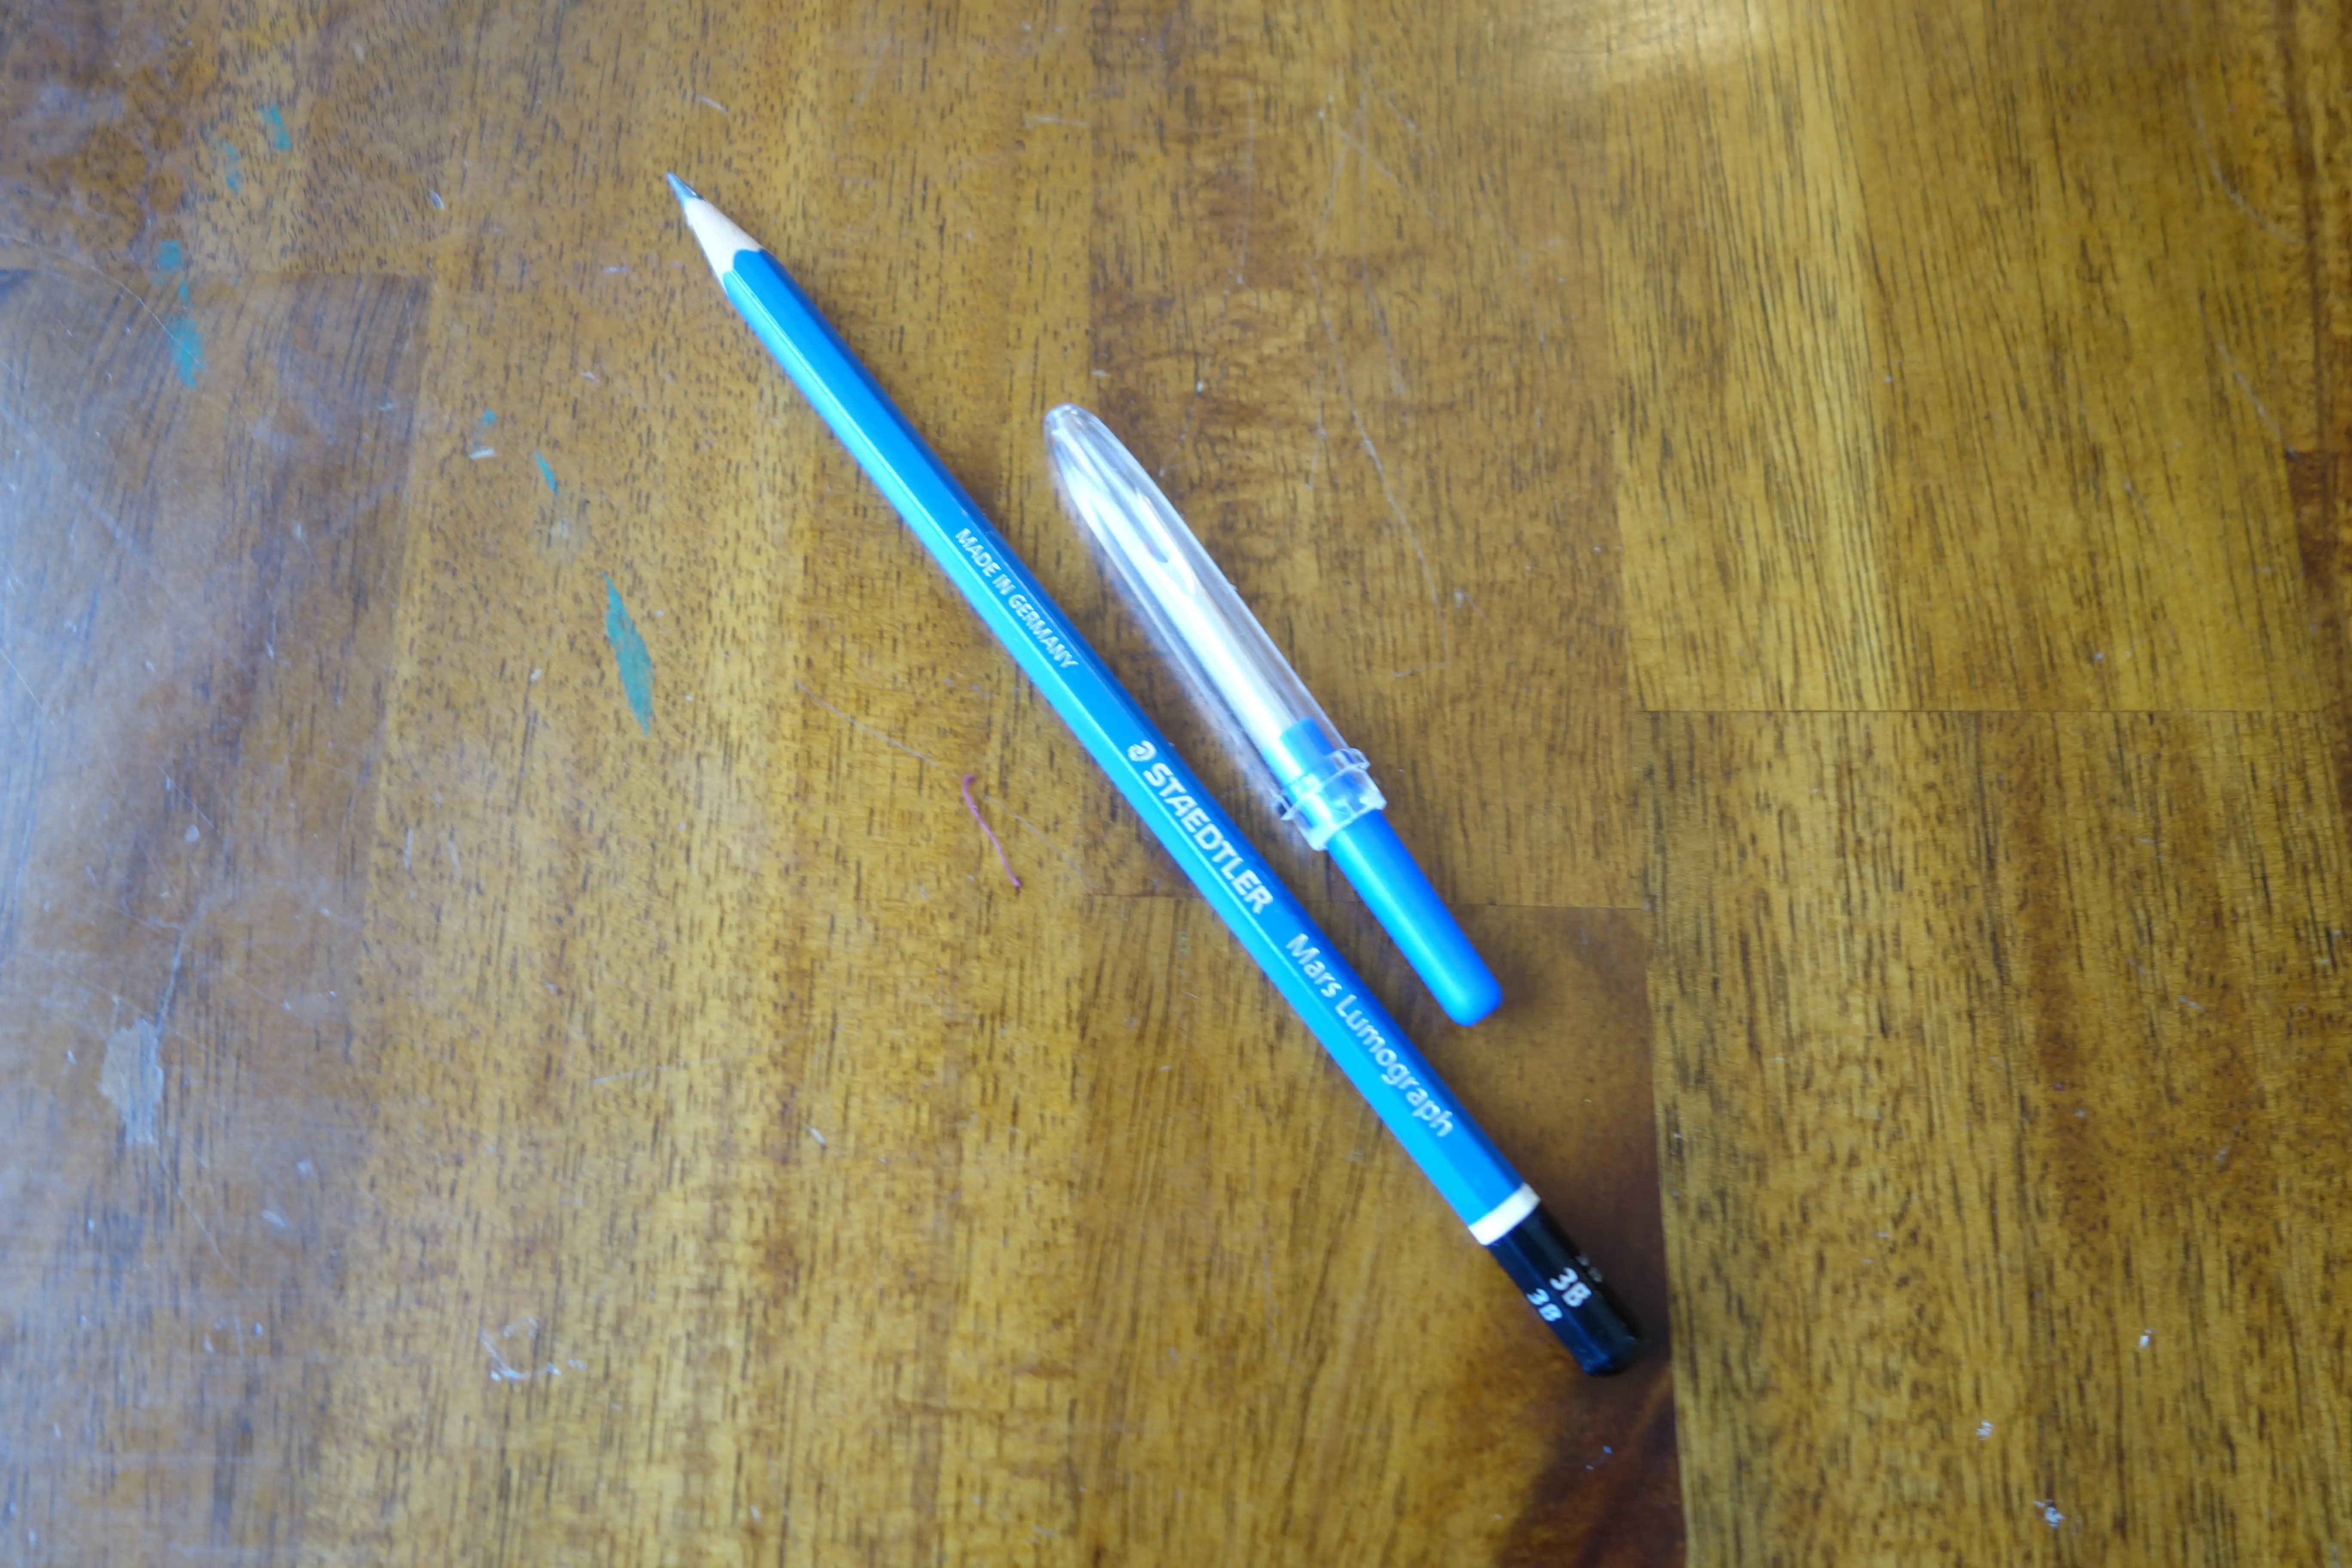
youll also need something straight to draw the line but ive used the edge of books and other stuff before so you dont need a ruler, though it is nice to measure seam allowances and hems.
the last things youll need is a friend to hang out with while sewing. here i have my friend georgio.

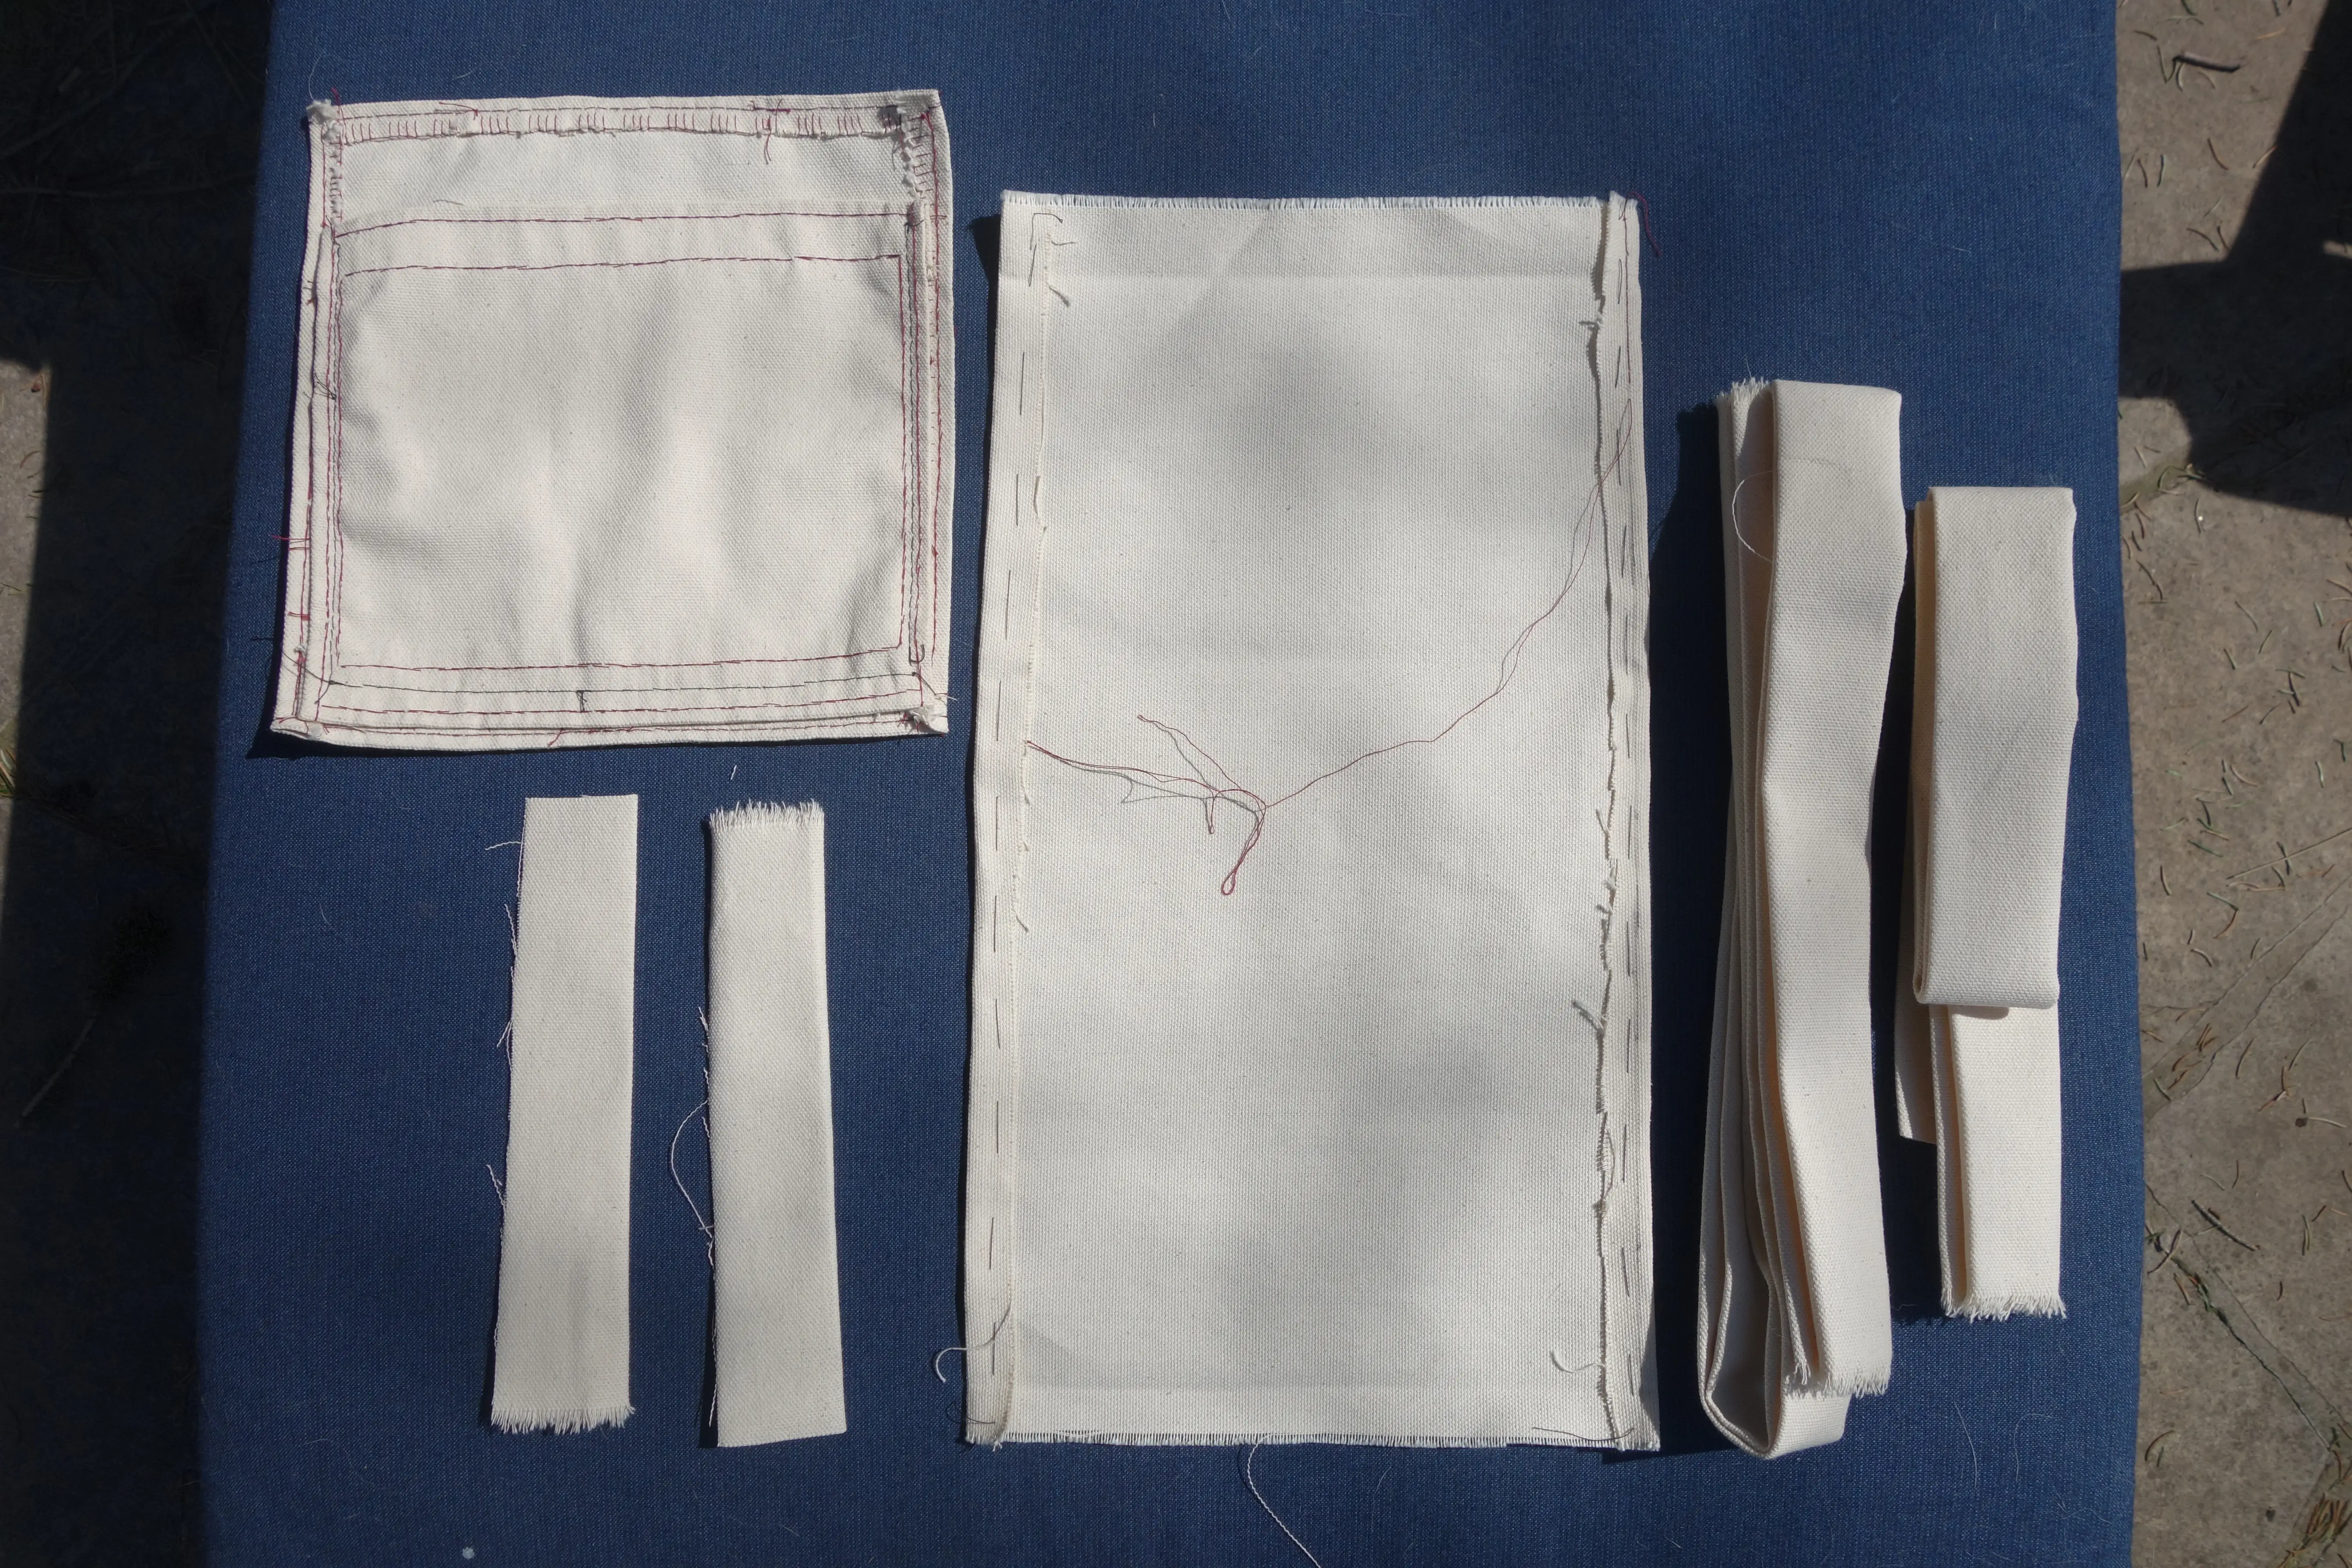
after gathering my tools and materials i started cutting out the pieces that would make up the bag.
i didnt take many pictures when starting out so this is the best i have. theres the strap on the right in two pieces. then the three large rectangles make up the main bag, here two are already sewn together in the top left corner to form the front of the bag and the inner pocket, which is big enough for the ereader. the two small pieces in the bottom left will form the loops that the bag hardware sits in to connect the bag to the strap.
the sticthes im use are very basic, only backstitch for more structural work and a blanketstich with some modifications to finish the inner edges of each panel.
instead of using pins to hold the fold and pieces in place, i have been basting (or tacking if youre bri'ish) everything in place. after some practice it can be much faster than pinning and also removes the risk of accidentally poking yourself which is always a bonus.
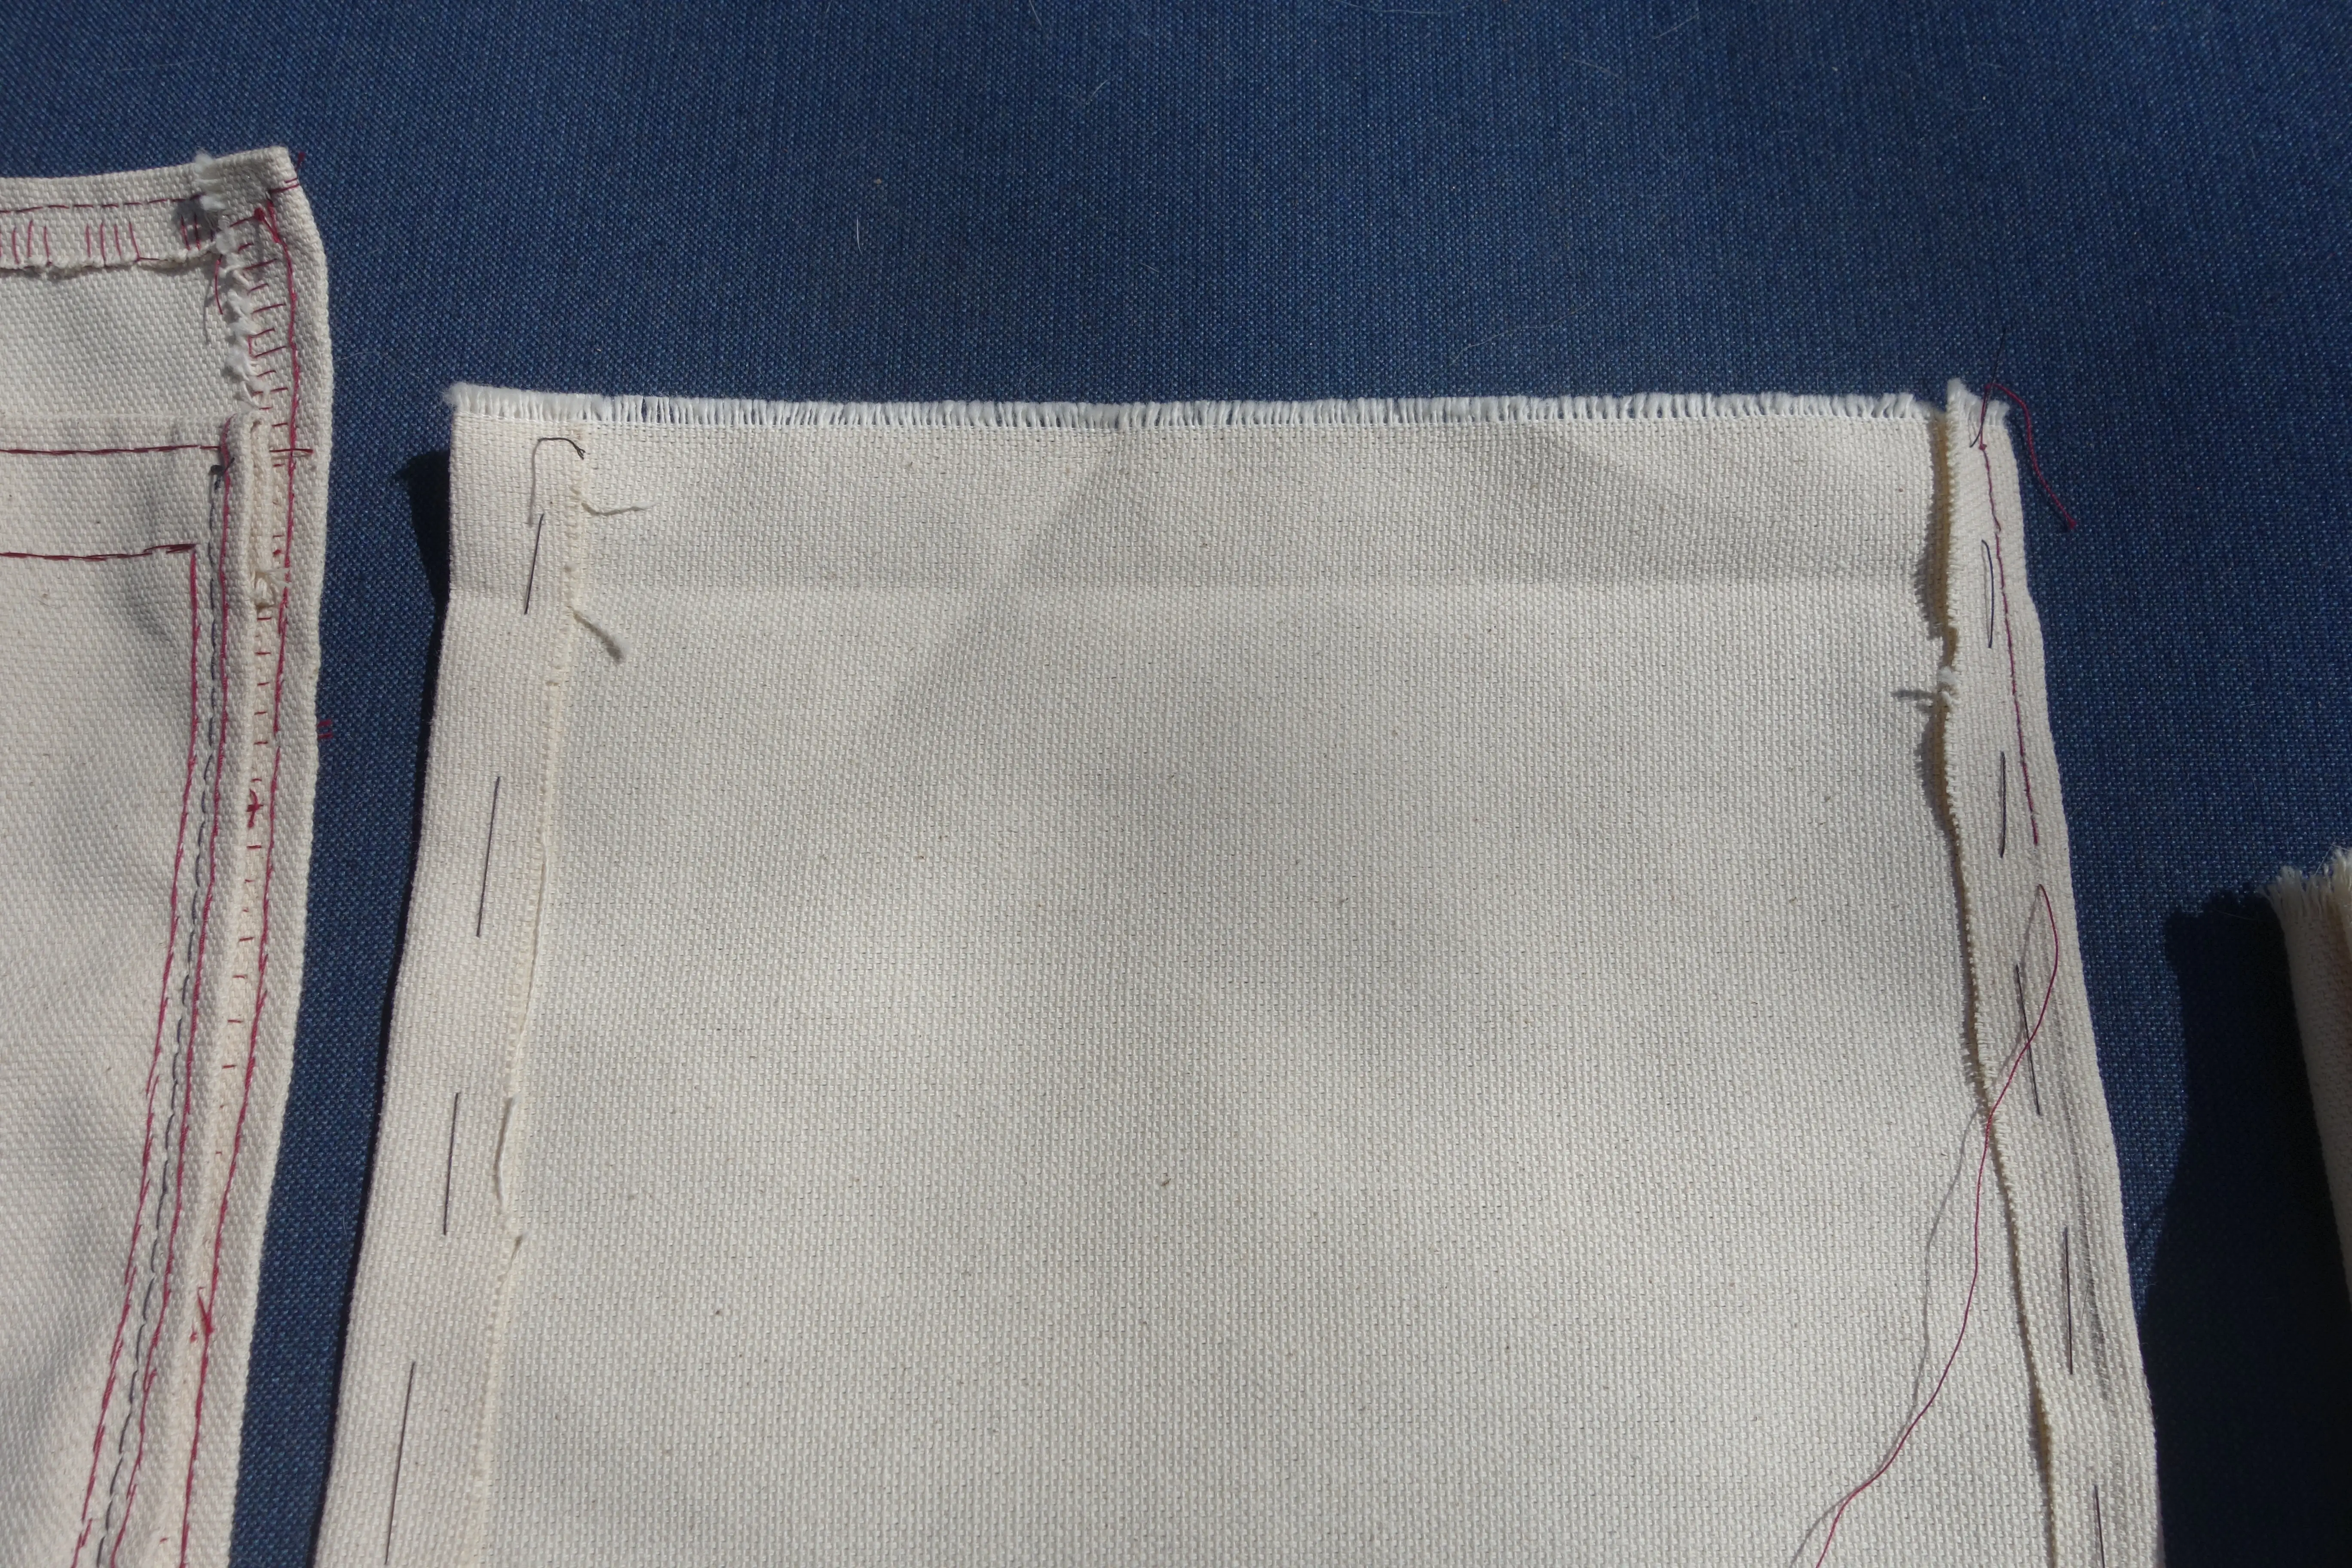
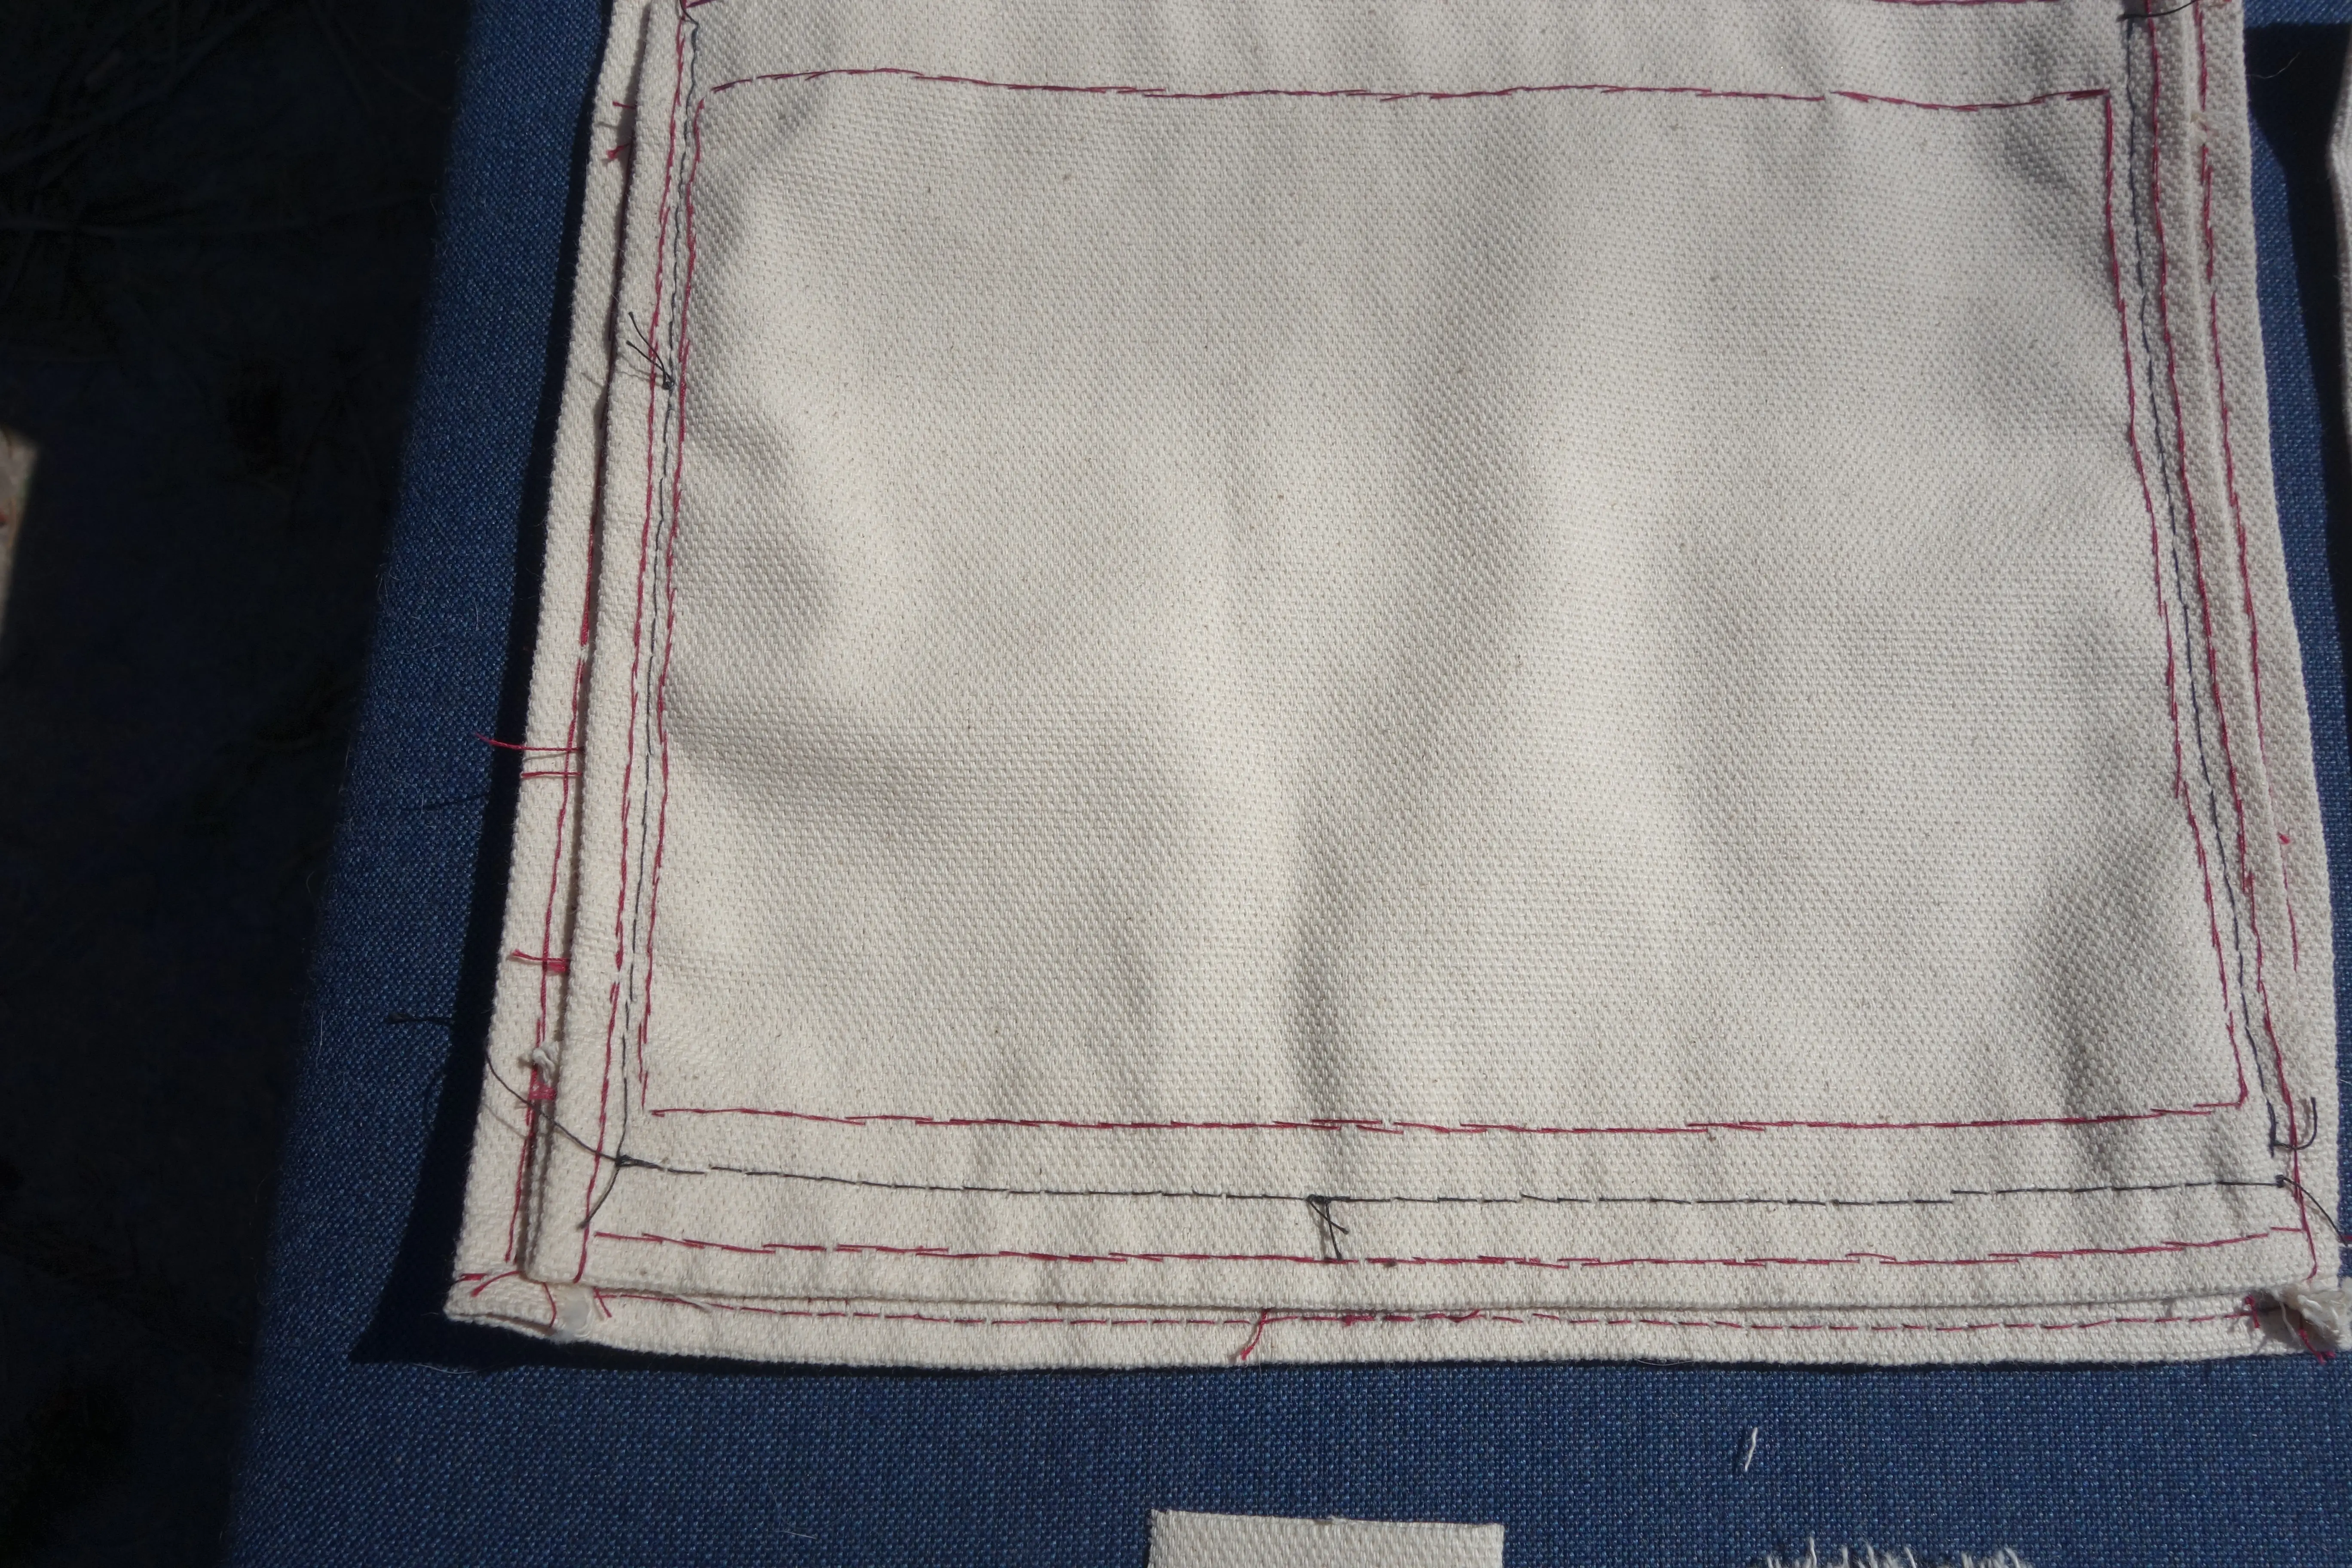
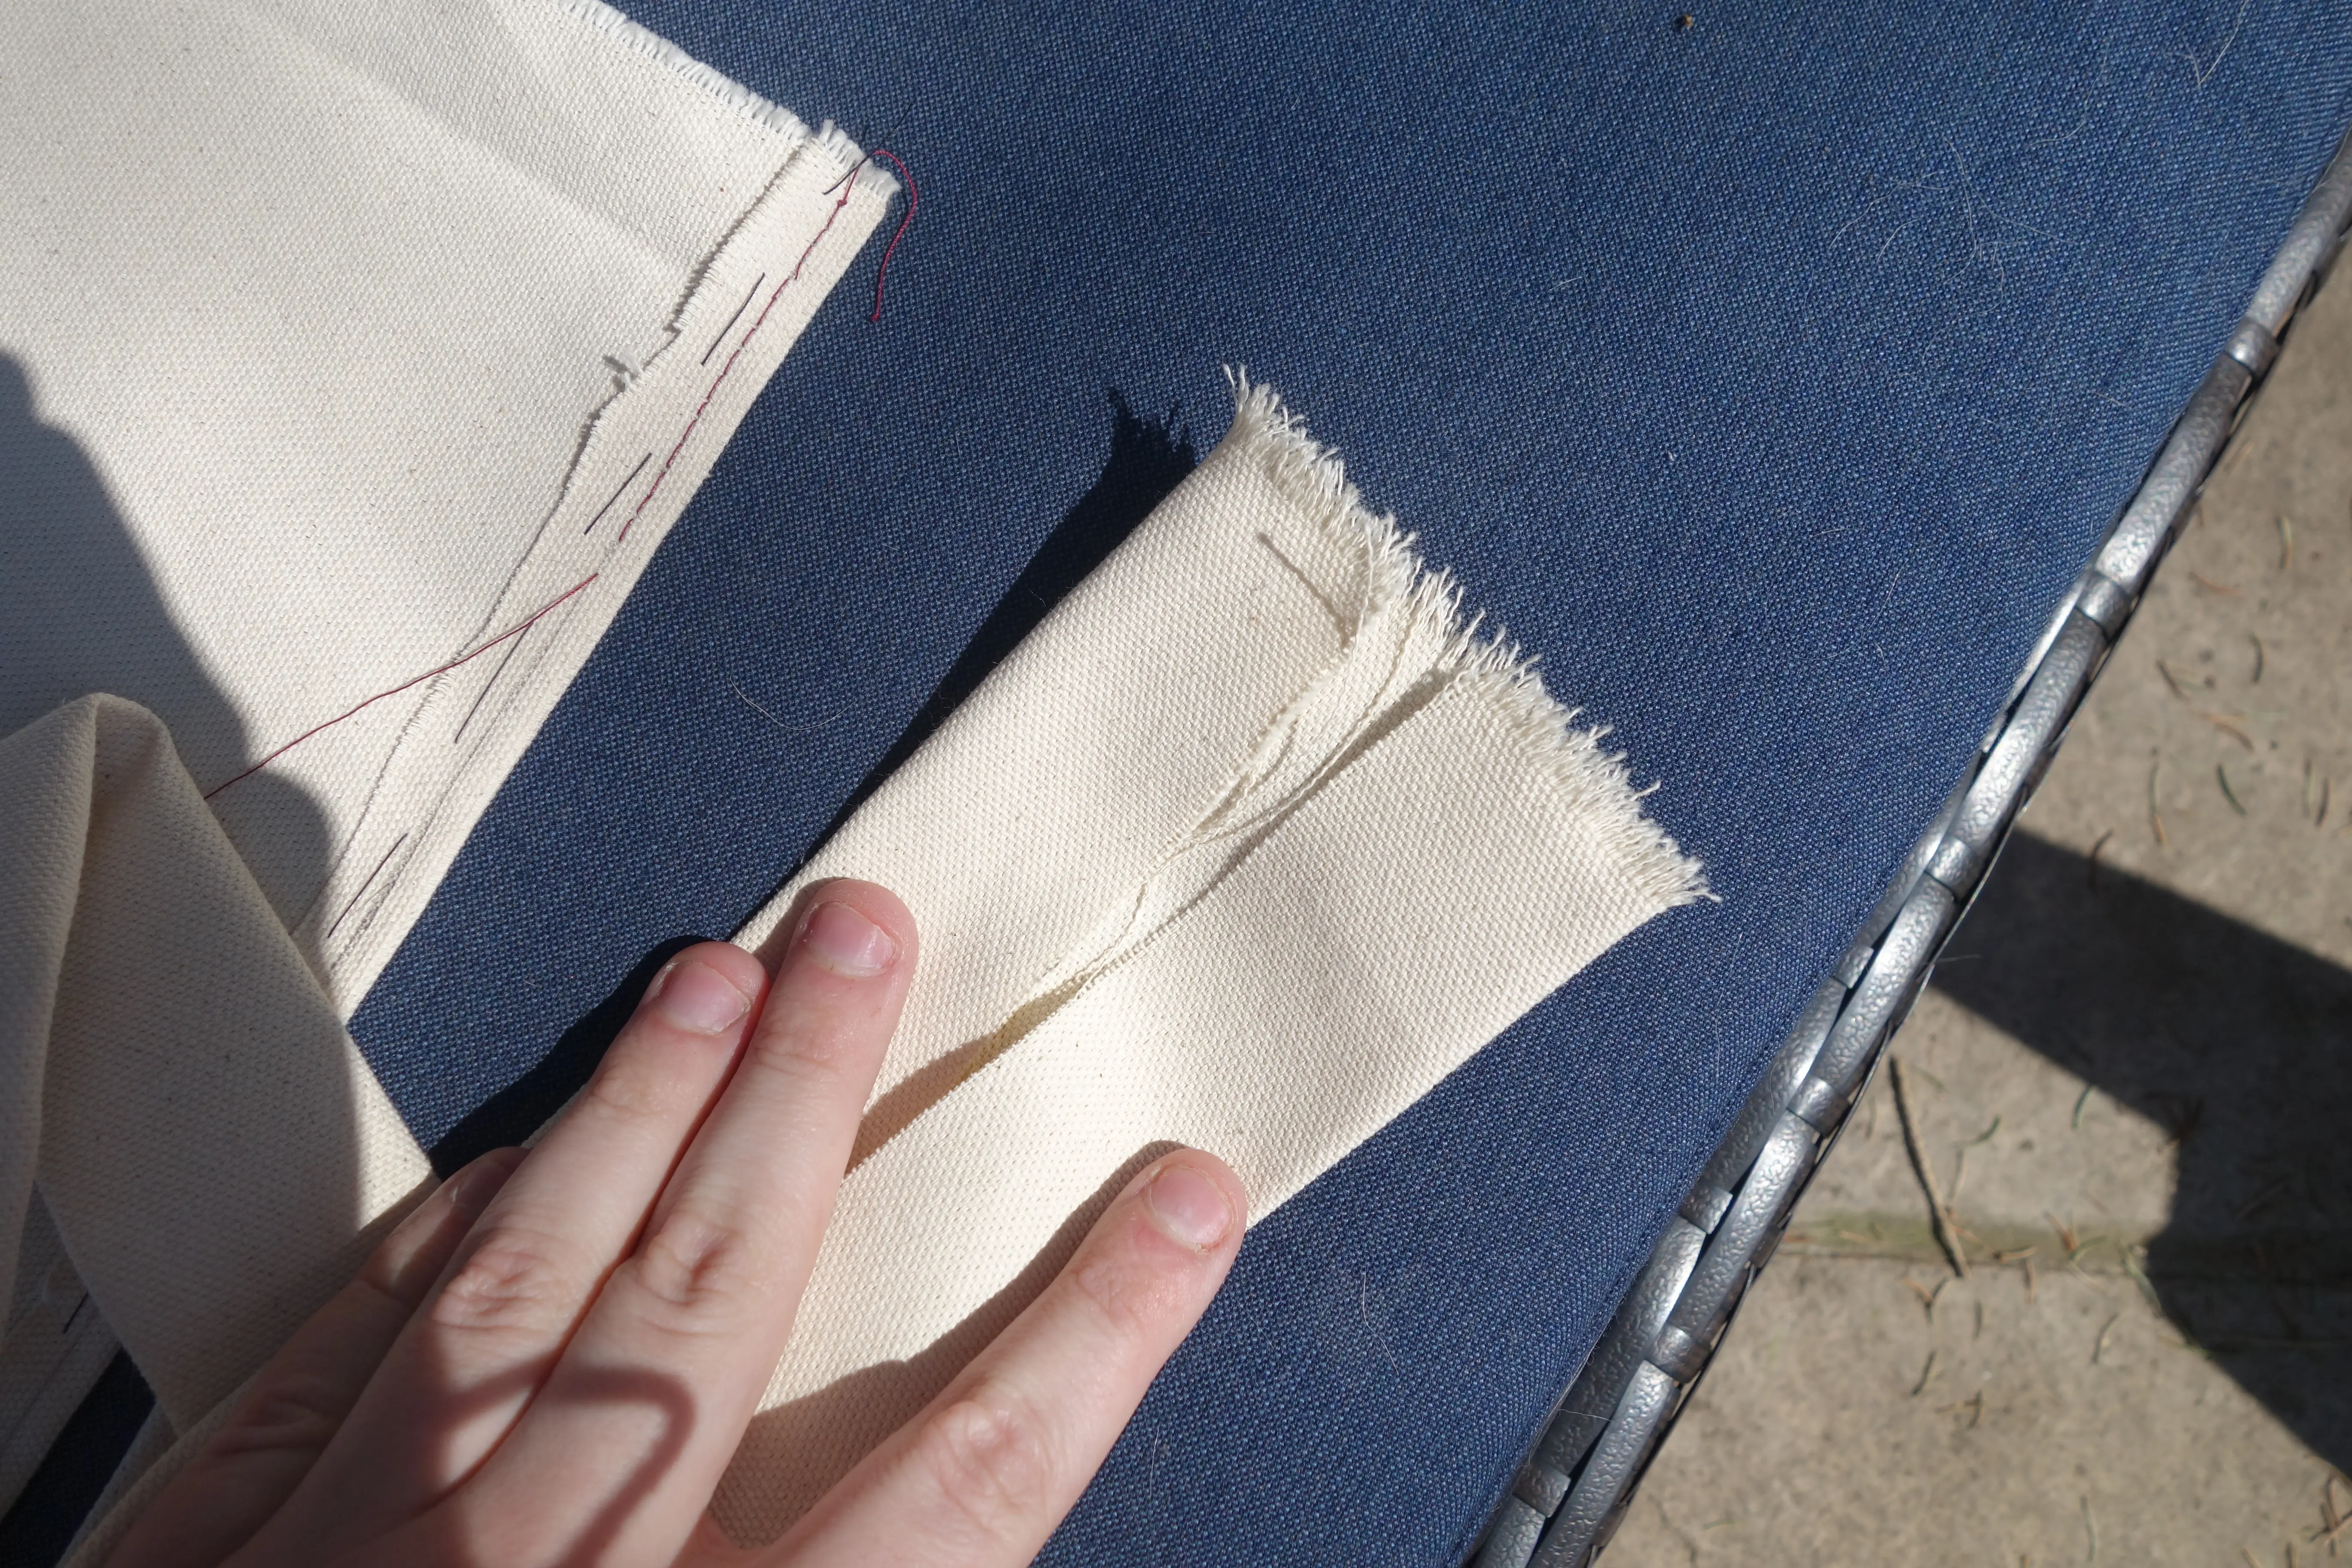
on the right and left you can see the basting stitch in black, then on the right you can see the backstitch in red, and the pencil line im following. this is the first step i took to finish the panels, folding the edges and sewing a backstitch at 5mm from the edge to hold it together.
the bag itself is constructed out of a few panels which i finish the edges of individually and then sew together, this will allow the bag to be taken apart more easily later to be repaired without worry of the fabric fraying.
next i finish the edges using a blanket stitch (or a backstictch again if im lazy) while varying the stitch lengths for an interesting pattern.
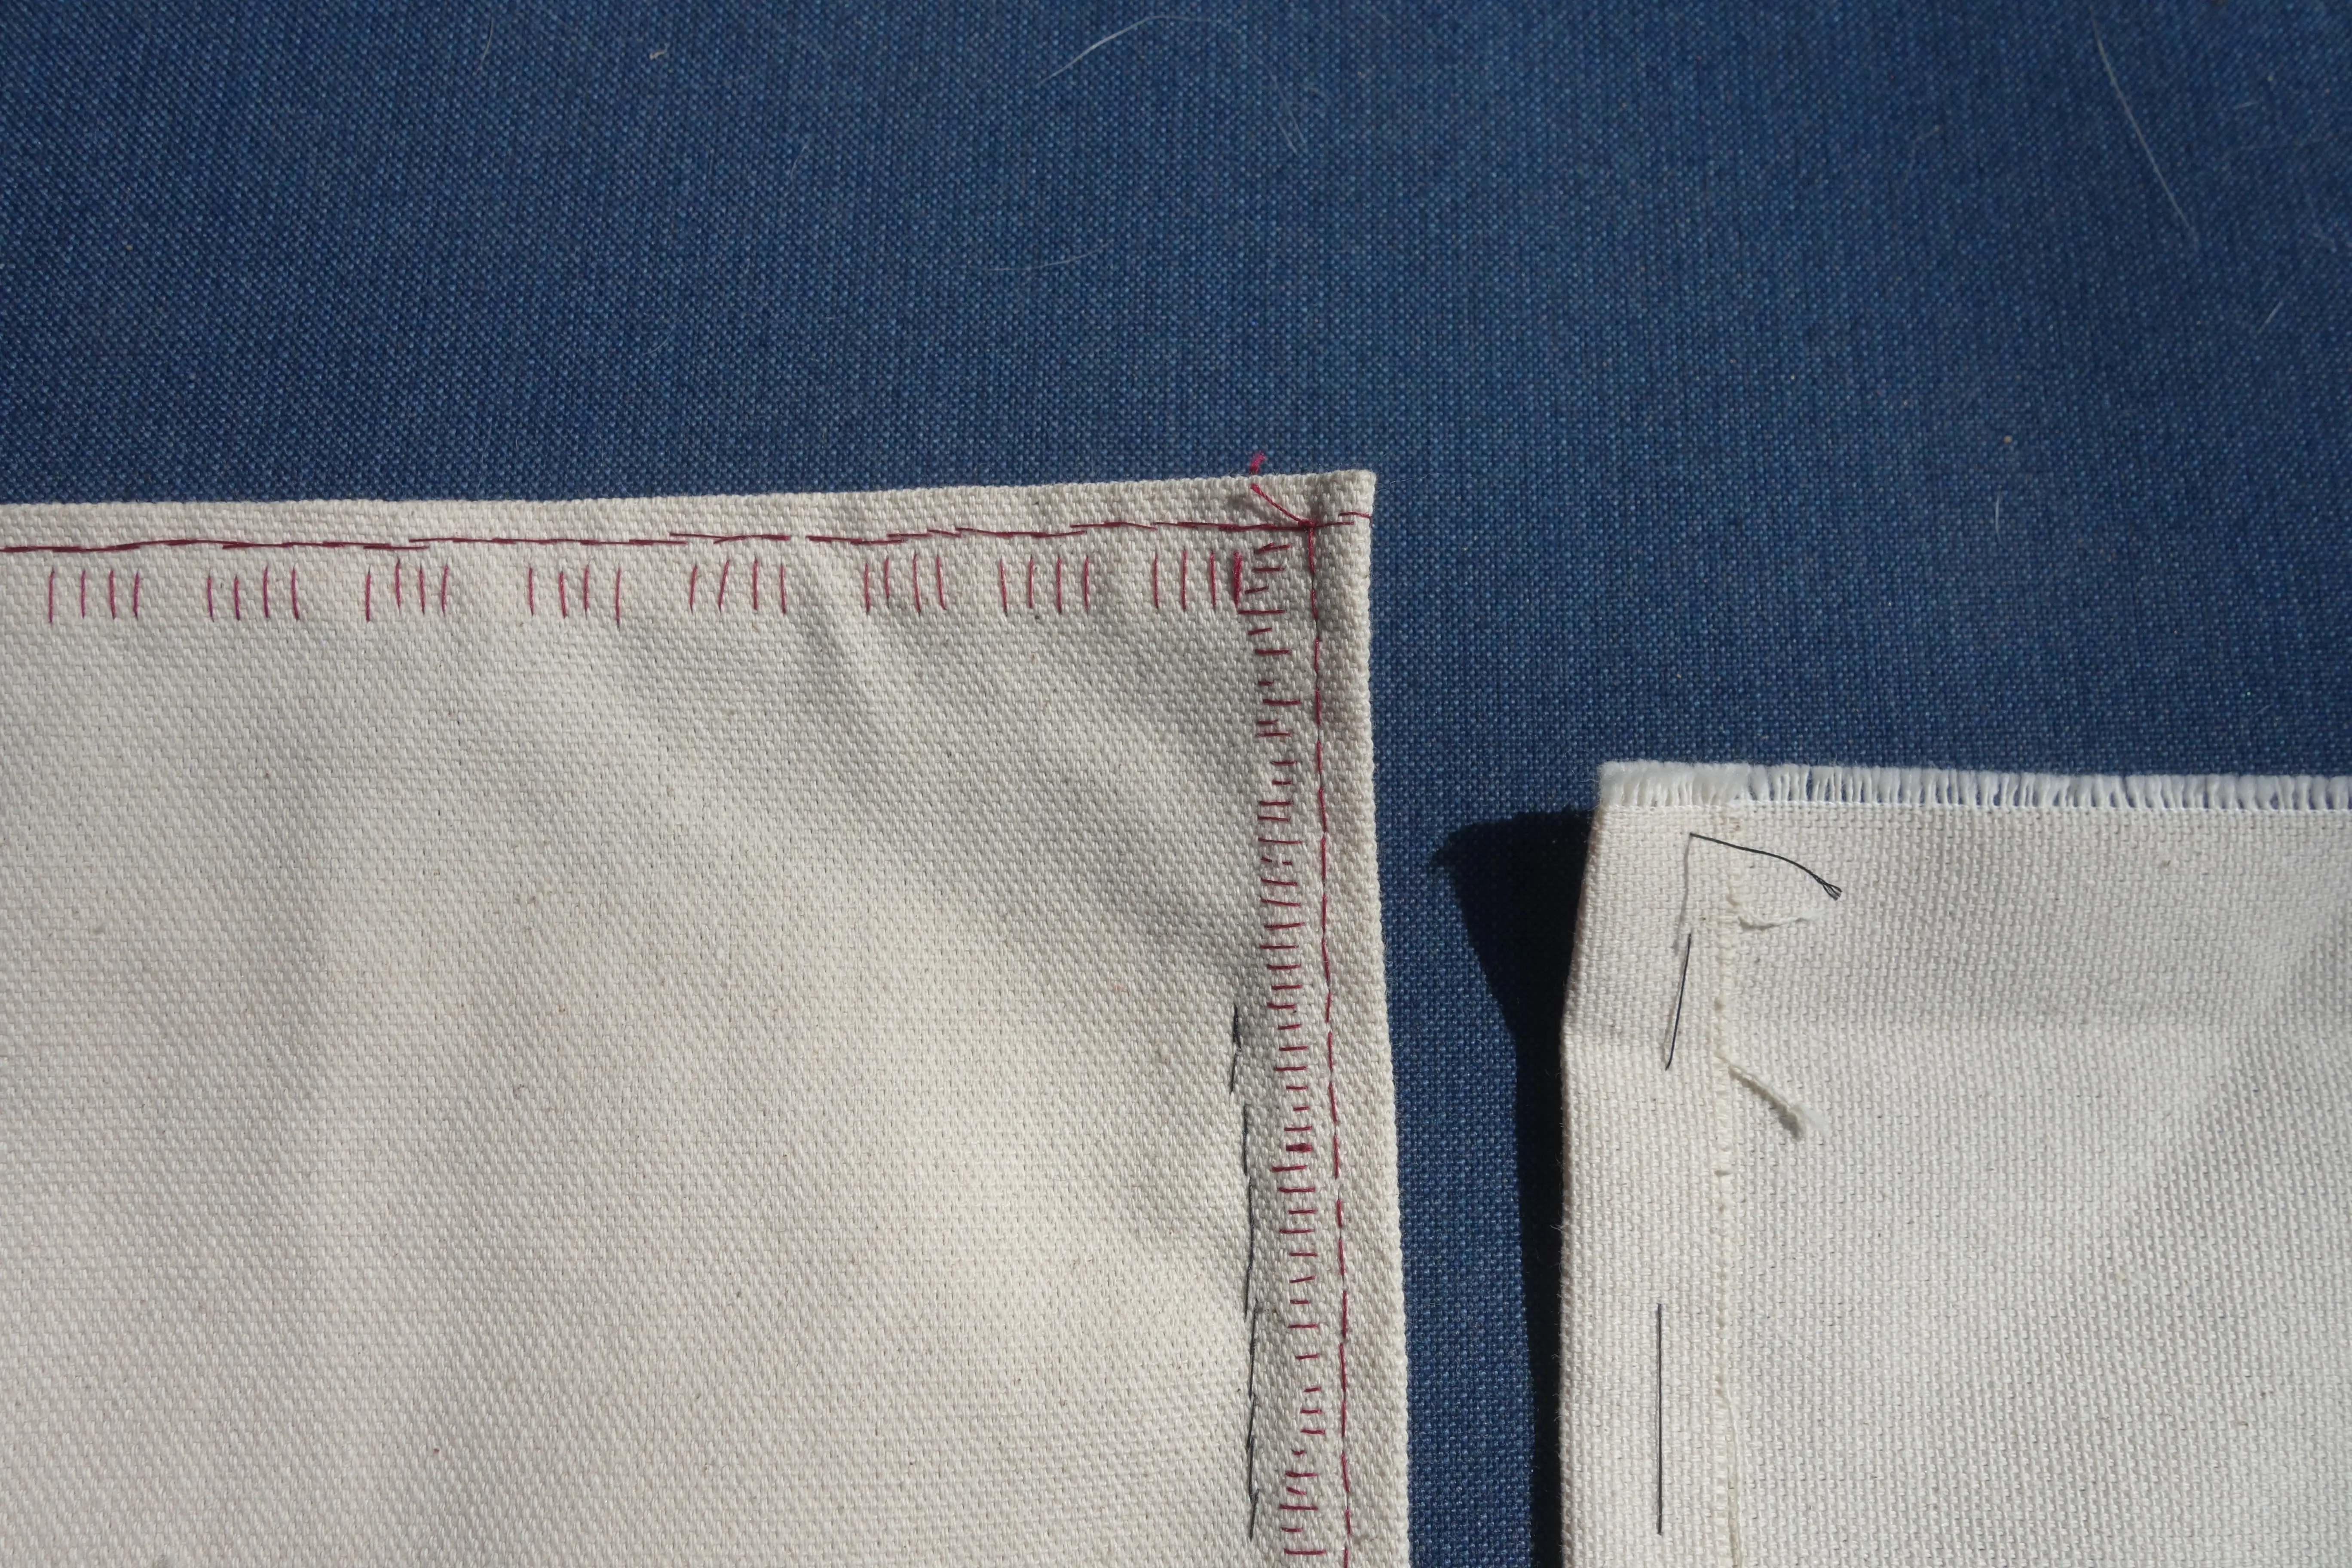
after i finished the front panel and the inside pocket i attached them together using a backstitch in black thread, the colorcoding should make it easier to repair.
the straps are just a large strip of fabric folded to hide the edges, and the loops for the hardware are similar but smaller.

that covers the basic construction of the bag up until now, i will continue to update this page with new information as i work on the bag. bookmark this page and check back later!